Epson Perfection 1670 Photo 수동 시작 - 페이지 4

{카테고리_이름} Epson Perfection 1670 Photo에 대한 수동 시작을 온라인으로 검색하거나 PDF를 다운로드하세요. Epson Perfection 1670 Photo 9 페이지. Color image scanner
Epson Perfection 1670 Photo에 대해서도 마찬가지입니다: 제품 정보 (7 페이지), 매뉴얼 (11 페이지), 업데이트 (1 페이지), 제품 지원 게시판 (17 페이지), 제품 지원 게시판 (12 페이지), 중요 안전 지침 (4 페이지), 브로셔 및 사양 (2 페이지), 서비스 매뉴얼 (46 페이지)
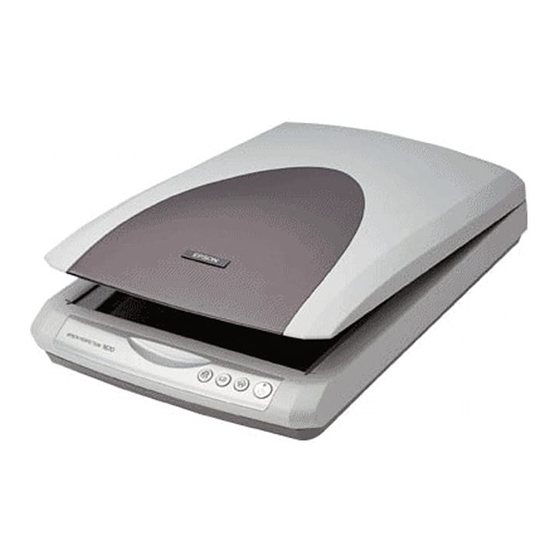
Epson Perfection 1670 Photo 수동 시작
2
Press the ] Start button on your scanner.
Note: In Windows XP, you may see a message the first time you press
the ] Start button. Select EPSON Smart Panel, click Always use this
program for this action, then click OK.
EPSON Smart Panel opens on your computer.
3
Click the
A progress meter appears on the screen and your document is automatically
scanned.
4
After your document is scanned, the View Image screen opens. Click Next to
continue.
5
When you see the following screen, select a location and file type for your
scanned image, then click Save. Be sure to note the location so you can
easily find it later.
Specify the path to
the folder where you
want to save your
scanned image
Select a file format
Your scanned image is saved in the location you specified.

Using the Scanner Buttons

The scanner buttons make scanning easy. Just place your document face down
on the scanner and press the button for the type of scan you want. Smart Panel
automatically opens and scans your document. Then follow the easy on-screen
instructions to finish your task.
Note: If you are using OS X, make sure Smart Panel is installed in an OS X
environment, not Classic mode. Otherwise, Classic mode may start when you
press a scanner button.
Scan and Save icon.
Scan to
Web
Scan to
Copy
E-mail
Click Save
Start