Epson Perfection V100 Series 제품 정보 매뉴얼 - 페이지 3

{카테고리_이름} Epson Perfection V100 Series에 대한 제품 정보 매뉴얼을 온라인으로 검색하거나 PDF를 다운로드하세요. Epson Perfection V100 Series 9 페이지. Product support bulletin(s)
Epson Perfection V100 Series에 대해서도 마찬가지입니다: 사양 (2 페이지), 중요 안전 지침 (4 페이지), 빠른 시작 (4 페이지), 제품 지원 게시판 (23 페이지), 제품 지원 게시판 (40 페이지), 제품 지원 게시판 (24 페이지), 제품 지원 게시판 (29 페이지), 제품 지원 게시판 (8 페이지), 제품 지원 게시판 (3 페이지), 제품 지원 게시판 (11 페이지), 제품 지원 게시판 (14 페이지), 제품 지원 게시판 (12 페이지), 제품 지원 게시판 (40 페이지), 제품 지원 게시판 (11 페이지), 제품 지원 게시판 (40 페이지), 제품 지원 게시판 (22 페이지), 제품 지원 게시판 (12 페이지), 제품 지원 게시판 (21 페이지), 제품 지원 게시판 (12 페이지), 여기에서 시작 (2 페이지), 여기에서 시작 (2 페이지), 여기에서 시작 (2 페이지), 여기에서 시작 (4 페이지)
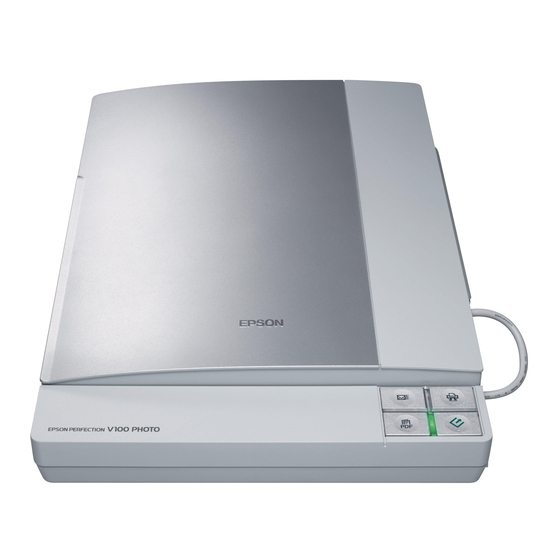
Epson Perfection V100 Series 제품 정보 매뉴얼
2. Place your document or photo on the document table, face
down on the glass. Make sure the upper left corner of the
document or photo is against the corner of the scanner, next
to the arrow mark.
3. An area 0.12 inch (3 mm) from the horizontal and the
vertical sides of the scanner glass cannot be scanned. If you
place a document in the corner of the document table,
move it up and in slightly to avoid cropping.
Maximum
a
unreadable area of
0.12 inch (3 mm)
Maximum unreadable area of
0.12 inch (3 mm)
4. If you are scanning multiple photos at once, position each
photo at least 0.8 inch (20 mm) apart from the others.
b
5. Close the scanner cover gently so that your original does not
move.
Note:
Always keep the document table clean.
Do not leave photos on the document table for an extended
period of time as they may stick to the glass.

Placing Large or Thick Documents

When you scan a large or thick document, you can open the
scanner cover all the way, so that it lies flat next to the scanner.
1. Open the scanner cover.
2. Pull the scanner cover straight up.
7/06
Epson Perfection V100 Photo
Epson Perfection V100 Photo - 3