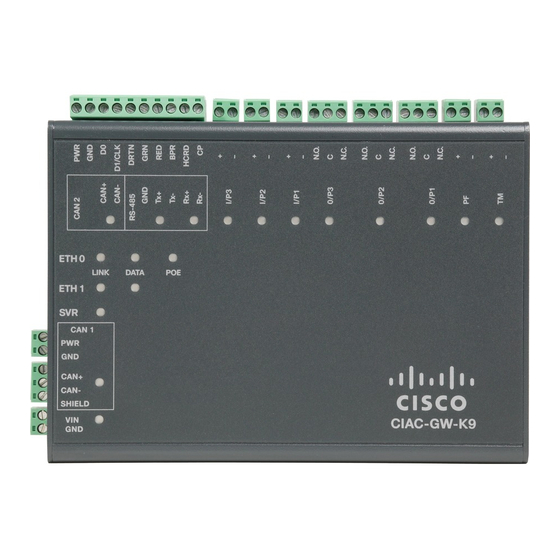
Cisco Physical Access CIAC-GW-K9 빠른 시작 매뉴얼 - 페이지 3
{카테고리_이름} Cisco Physical Access CIAC-GW-K9에 대한 빠른 시작 매뉴얼을 온라인으로 검색하거나 PDF를 다운로드하세요. Cisco Physical Access CIAC-GW-K9 17 페이지. Physical access gateway
Cisco Physical Access CIAC-GW-K9에 대해서도 마찬가지입니다: 설치 및 구성 (26 페이지)

IP address: Enter the IP address of the Cisco Physical Access Gateway.
–
Subnet Mask: Enter the subnet mask.
–
Gateway: Enter the IP gateway address.
–
9. (Optional) Enter the DNS Server address if names (not IP addresses) are used for the CPAM address.
10. Enter the Cisco PAM Configuration:
a. Enter the Cisco PAM IP address (IP address or name) to enable Gateway communication with the appliance.
b. Enter the port number for the Cisco PAM appliance. The port number must be greater than 1024 and less 65535. The
default is 8020.
DHCP can also be configured to supply the Gateway with the IP address of the Cisco PAM appliance by configuring
Tip
option 150 in the DHCP response. The Cisco PAM appliance TCP port number can be provided by DHCP option 151
of the DHCP response.
c. Enable SSL: The secure socket layer (SSL) is enabled for secure communication between the Gateway and Cisco PAM
appliance by default. If necessary SSL can be disabled by deselecting the Enable SSL check box.
SSL is enabled or disabled for all Gateways and the Cisco PAM appliance. Cisco Systems recommends that SSL
Note
always be enabled to ensure secure communications. If the SSL settings are changed, you must reset all
Gateways and the Cisco PAM appliance.
11. Click Save to save the settings. Wait until the Gateway resets and the web browser displays the screen Network Settings
Applied. Changes do not take effect until saved.
12. Repeat these steps for each Gateway in the system.
13. Perform additional configuration, verification, and monitoring tasks as described in the
Guide.
For complete instructions, see the
Tip
Cisco Physical Access Gateway User
Cisco Physical Access Manager User
Guide.
3
