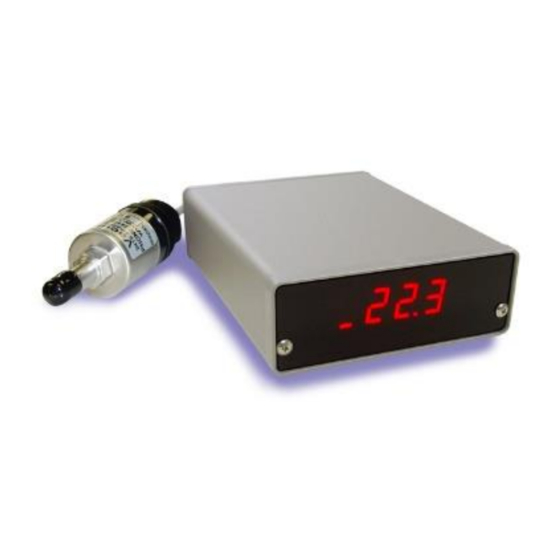
DigiVac 2L760 사용 설명서 - 페이지 5
{카테고리_이름} DigiVac 2L760에 대한 사용 설명서을 온라인으로 검색하거나 PDF를 다운로드하세요. DigiVac 2L760 10 페이지. Digital vacuum gauge

1. Relay 1 will be activated when the set point falls below the configured set point, and will remain active
until the vacuum level (pressure) rises above set point. This will be indicated by a relay "click" and also a
hash mark in the upper left corner.
2. Relay 2 will act in the same way.
Configuration:
1. Remove front panel with Phillips head screw driver
2. Set the vacuum level for set point 1 by shorting the left most and center pin with the jumper provided,
then set the left most potentiometer to the desired vacuum level.
3. Follow the same procedure for setting set point 2, shorting the center pin and the right pin, then
adjusting the potentiometer on the right
4. Replace the jumper on the center pin and close up unit.
Rear View of 2L760:
SP1
Normally Open
Normally Closed
Common
If you purchased the Wireless or Ethernet option, please refer to the model 200 Ethernet Addendum for initial
setup. Your 2L760 should be set by default with the IP address 192.168.0.200. Surf over to
(or whatever your IP address was set to) and say "yes" to security screens authorizing a DIGIVAC applet to run in
your browser. You should see a screen that looks like:
Normally Open
Normally Closed
DIGIVAC 2L760 Instruction Manual Page 5
SP2
Common
http://192.168.0.200
