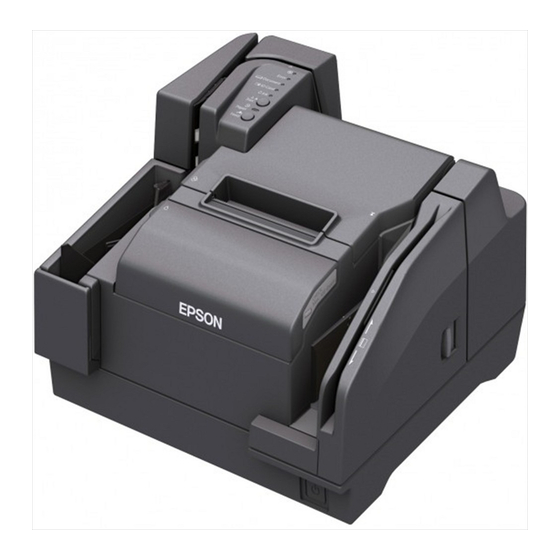
Epson TM-S9000MJ 사용자 설명서 - 페이지 11
{카테고리_이름} Epson TM-S9000MJ에 대한 사용자 설명서을 온라인으로 검색하거나 PDF를 다운로드하세요. Epson TM-S9000MJ 25 페이지.
Epson TM-S9000MJ에 대해서도 마찬가지입니다: 설정 매뉴얼 (2 페이지), 설정 매뉴얼 (2 페이지), 여기에서 시작 (2 페이지)

Installing and Replacing the Ink Cartridge
When ink is low in the ink cartridge, the Ink LED flashes. When the Ink LED as well as the
Error LED come on, printing stops and it is time to change the ink cartridge.
Follow the steps below to install the ink cartridge into the product for the first time or replace
it with a new one.
1.
Turn on the product.
2.
Put your finger under the left side of the ink cartridge cover and pull it up to open it.
3.
If there is a used ink cartridge, remove the ink cartridge by pulling up the tab on the top of
the cartridge while holding the product.
4.
Remove a new ink cartridge from its package.
Note:
Be sure to use a new ink cartridge. Do not install a used ink cartridge.
5.
Install the ink cartridge in the correct direction, and push it until it clicks in place.
6.
Close the ink cartridge cover.
Note:
•
When you first use the product, installing an ink cartridge begins charging the ink
supply. Ink charging takes approximately four minutes and
during that time.
•
When the ink cartridge cover is closed, print head cleaning starts automatically to
ensure consistent print quality. During the cleaning,
(Power) LED flashes
(Power) LED flashes.
11
