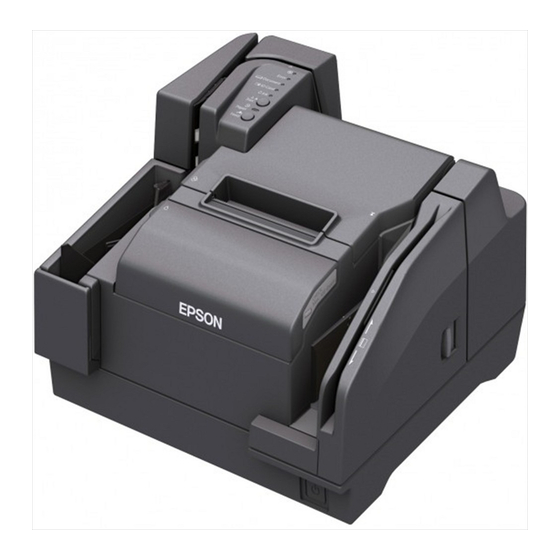
Epson TM-S9000MJ 사용자 설명서 - 페이지 14
{카테고리_이름} Epson TM-S9000MJ에 대한 사용자 설명서을 온라인으로 검색하거나 PDF를 다운로드하세요. Epson TM-S9000MJ 25 페이지.
Epson TM-S9000MJ에 대해서도 마찬가지입니다: 설정 매뉴얼 (2 페이지), 설정 매뉴얼 (2 페이지), 여기에서 시작 (2 페이지)

2.
Make sure the Document LED is flashing.
3.
Set the cut sheet paper in the ASF with the edges aligned to the paper setting mark
the right side of the roll paper cover.
Follow the precautions below.
•
Set the sheets with the face on which you want to print facing inside.
•
To scan checks or read the magnetic ink characters with MICR, set the sheets with
the part of the magnetic ink characters facing outside and down.
•
To set multiple sheets, align them neatly on the bottom-right (insertion side) corner.
CAUTION:
If the documents are inserted without being aligned, they may not be fed at all, or a paper jam
or incorrect feeding of multiple sheets may result.
4.
After setting the cut sheet paper, release it immediately.
CAUTION:
Do not open the covers while processing is in progress.
Do not insert an ID card into the ID card insertion slot while processing cut sheet paper.
Ejecting Cut Sheet Paper
Remove the cut sheet paper when it is ejected.
For two-pocket models, paper may be ejected separately into the main pocket and the sub
pocket depending on your application.
CAUTION:
To prevent a paper jam, do not leave more than 100 sheets in the pocket (for two-pocket models, 100
sheets in the main pocket and 50 sheets in the sub pocket) while processing cut sheet paper.
9 0
7 8
5 6
3 4
1 2
0
7 8
3 4
1 2
1 2
9 0
7 8
5 6
3 4
1 2
0
7 8
3 4
1 2
9 0
7 8
5 6
3 4
1 2
0
7 8
3 4
on
14
