Epson 7800 - Stylus Pro Color Inkjet Printer 빠른 참조 매뉴얼 - 페이지 8

{카테고리_이름} Epson 7800 - Stylus Pro Color Inkjet Printer에 대한 빠른 참조 매뉴얼을 온라인으로 검색하거나 PDF를 다운로드하세요. Epson 7800 - Stylus Pro Color Inkjet Printer 12 페이지. Stylus pro 800 series
Epson 7800 - Stylus Pro Color Inkjet Printer에 대해서도 마찬가지입니다: 포장 풀기 및 설정 매뉴얼 (27 페이지), 브로셔 및 사양 (8 페이지), 사양 (4 페이지), 시작하기 매뉴얼 (10 페이지), 사용자 설명서 (11 페이지), 보충 설명서 (1 페이지), 제한 보증 (12 페이지), 브로셔 및 사양 (8 페이지), 제품 지원 게시판 (10 페이지), 브로셔 및 사양 (16 페이지), 공지 사항 시트 (4 페이지)
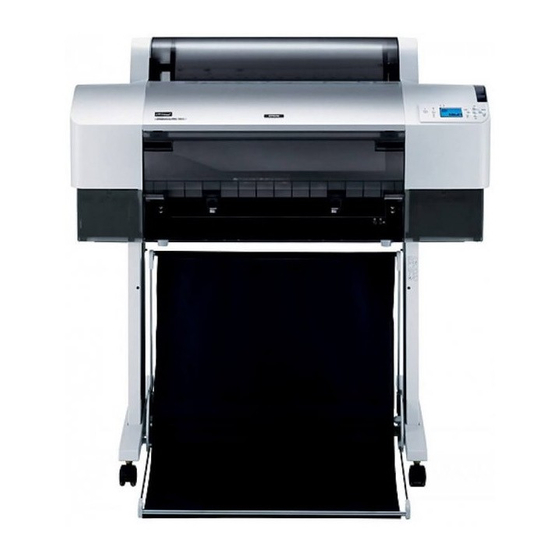
Epson 7800 - Stylus Pro Color Inkjet Printer 빠른 참조 매뉴얼
Replacing Printer Parts (continued)
5
Hold down the side pin, as shown, then turn the
latch to the right.
6
Release the side pin and carefully remove the cutter
blade.
7
Insert the new cutter blade.
8
Hold down its side pin and secure it with
the latch.
9
Close the front cover. The carriage returns to the
home position.

Replacing the Maintenance Tank

The Epson Stylus Pro 7800 has one maintenance tank
(on the right side) and the 9800 has two (one on either
side). You need to replace the maintenance tank
(part # C12C890191) when you see MAINTENANCE
TANK FULL on the LCD. The ink light also turns red.
1
If you have the Epson Stylus Pro 9800, check the
LCD to determine which tank needs to be replaced
(left or right).
Note:
The printer will not print if one of the
maintenance tanks is full. On the Epson Stylus
Pro 9800, the right tank is used more than the left.
To maximize tank life, you can switch the tanks.
2
Make sure the printer is on, and pull out the
maintenance tank as shown.
Caution:
Do not tip the tank, or ink may spill out.
3
Place the used tank in the plastic bag included with
the new tank.
4
Insert the new tank.
7