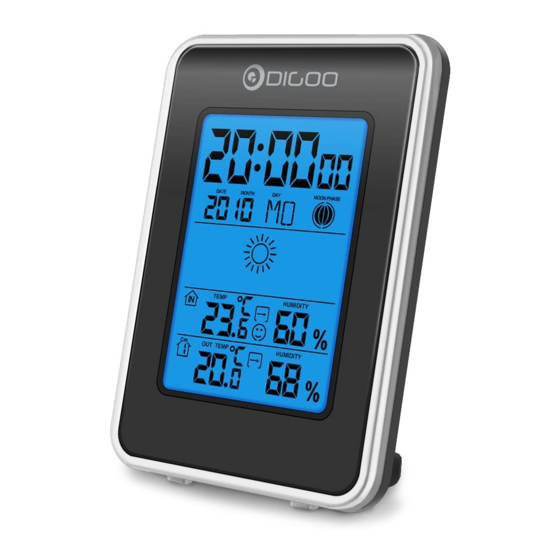
Digoo DG-R8H 사용 설명서 - 페이지 4
{카테고리_이름} Digoo DG-R8H에 대한 사용 설명서을 온라인으로 검색하거나 PDF를 다운로드하세요. Digoo DG-R8H 7 페이지. In/out weather station clock, indoor unit, outdoor sensor

433.92 MHz CONNECTION TIPS:
The transmission range is about 100 meters from the transmitter to the weather station
(in open area). The weather station should receive the temperature data within 3 min-
utes after set-up. If the temperature data is not received within 3 minutes after setting
up, please check the following:
1. The distance of weather station or transmitter should be at least 5~6.5 feet (1.5~2
meters) away from any interfering sources such as computer monitors or TV sets.
2. Avoid positioning the weather station onto or in the immediate proximity of metal
window frames.
3. Using other electrical products such as headphones or speakers operating on the
same signal frequency will cause interference.
4. Neighbors operating electrical devices on the same signal frequency can also cause
interference.
CONNECTION W/ MAX 3 EXTERNAL SENSORS
1. The weather station can receive data from up to maximum 3 sensors.
2. Make sure you put each sensor in your desired area.
3. Press "CH" key to switch the channel among CH1, 2 or 3 and read temperature info.
TIME SET
1. Press and hold "SET" key for 2 seconds to enter time setting.
2. The figure to be set will be flashing.
3. Press "UP" or "DOWN" button to change the settings.
4. Hold pressing "UP" or "DOWN" button for 8 steps per second movement.
5. Press "SET" key to confirm and go to next setting.
6. The setting order is: Year, Month, Date, Weekday languages, 12/24-hr format, Hour,
Minute.
7. Press "SET" again to confirm and exit setting.
8. Moon phase is changed automatically.
ALARM SET
1. Press "SET" key and you will see "AL" in the lower right corner of the display, then
hold pressing "SET" for 2 seconds to enter alarm setting.
2. The figure to be set will be flashing.
3. Press "UP" or "DOWN" to change the settings.
9. Hold pressing "UP" or "DOWN" button for 8 steps per second movement.
4. Press "SET" key to confirm and go to next setting.
