Epson DX5 X 1 보정 및 유지보수 - 페이지 4
{카테고리_이름} Epson DX5 X 1에 대한 보정 및 유지보수을 온라인으로 검색하거나 PDF를 다운로드하세요. Epson DX5 X 1 22 페이지. Printhead
Epson DX5 X 1에 대해서도 마찬가지입니다: 보정 및 유지보수 (22 페이지)

Chapter
Chapter 2: 2: 2: 2: Installation
Chapter
Installation
Installation
Chapter
Installation
1) Move the packing box to the working site and avoid strong shaking.
2) Disassemble the wooden packing box from top to bottom. Check whether the parts are complete or not
according to the packing list.
3) Lift the printer out by a forklift, and move it to the installation site.
4) Check if the printer is level.
5) Get rid of all the parts that stabilize the carriage holder, and install all the spare parts.
6) Move the carriage to the right of printer, then move back to the left manually. During this process, checks if
there are abnormal resistance and carefully inspect the belt & the encoder sensor are situated in proper
position
7) Ground the printer. The grounded voltage shouldn't be more than 0.3V, and the grounded resistance should
be less than 3Ω.
8) Connect the USB cable between printer and computer. Check if the wires and data cables areplugged in
properly.
9) Install the output and the rip software.
10) Move the carriage to middle of printing platform, turn on the printer, let the carriage move to home position,
and keep your hand on the emergency button for turning off the printer if problem happens suddenly.
11) Send a file to print to test the condition of the printer.
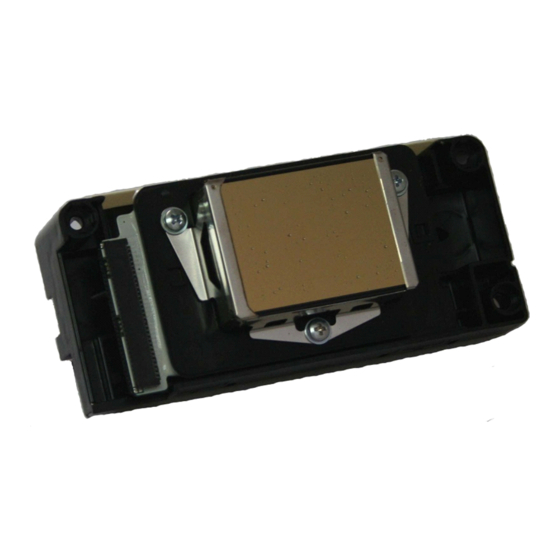
12) Install ptinthead and dampers, connect the ink tube from damper to special solvent, and use auto clean
function to clean the printhead
13) Load ink bottle, and use auto clean function to suck the ink from ink bottle to printhead.
14) Print nozzle checking and observe the condition of printheads. It is recommended to keep a copy of the test
for reference in the future.
15) Printhead alignment.
16) Start to Print.
All manuals and user guides at all-guides.com
4
