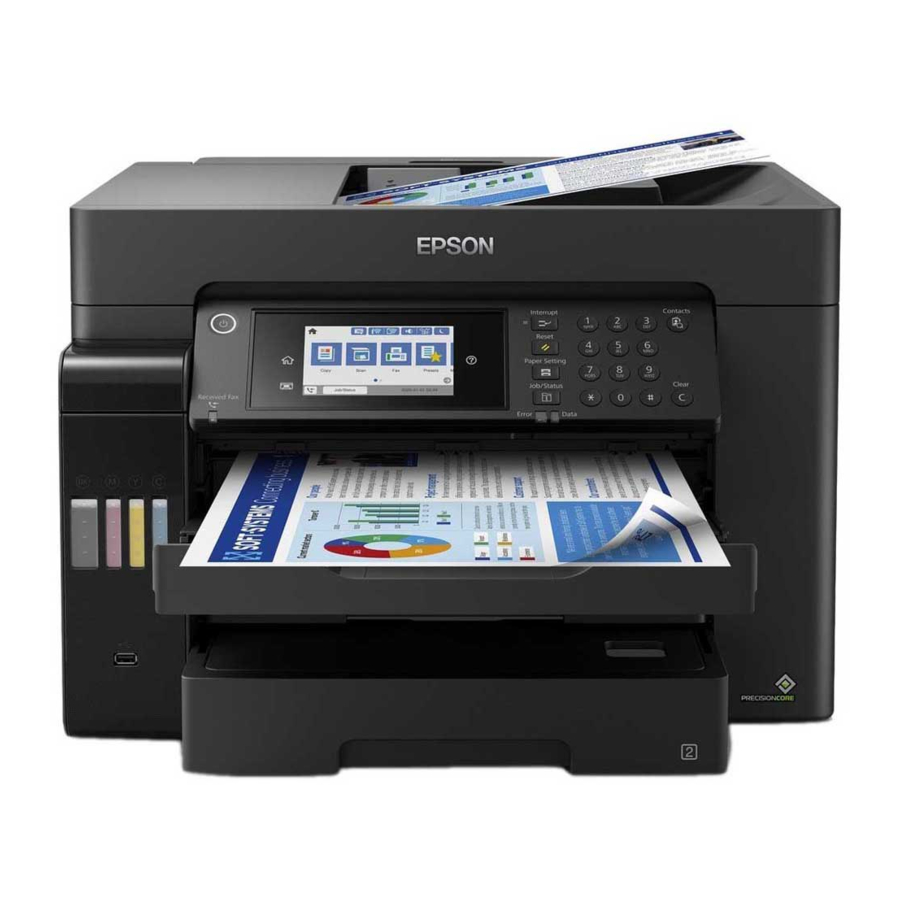
Epson ET-16650U 빠른 시작 매뉴얼
{카테고리_이름} Epson ET-16650U에 대한 빠른 시작 매뉴얼을 온라인으로 검색하거나 PDF를 다운로드하세요. Epson ET-16650U 4 페이지.

Start Here
IMPORTANT: Before using this product, make sure you read
these instructions and the safety instructions in the online User's
Guide.
Important Safety Instructions:
should always follow basic safety precautions to reduce the risk of fire,
electric shock, and personal injury, including the following:
• Do not use the Epson
product near water.
®
• Always keep this guide handy.
• Avoid using a telephone during an electrical storm. There may be a
remote risk of electric shock from lightning.
• Do not use a telephone to report a gas leak in the vicinity of the leak.
Caution:
To reduce the risk of fire, use only a No. 26 AWG or larger
telecommunication line cord.
Note:
As part of the ReadyPrint™ program, Epson monitors ink usage
remotely to provide you with additional ink before you run out of it. The
product must be connected to the Internet to function and monitor ink
usage.
1
Unpack
Note:
Do not open the ink bottles until you are ready to fill the ink
tanks. The ink bottles are vacuum packed to maintain reliability.
1
Remove all protective materials from the product.
ET-16650U
When using telephone equipment, you
2
Lift up the scanner unit. Remove all protective materials
from inside the product.
Caution:
Do not touch the flat white cable or the ink tubes and
their translucent cover. Do not move the transportation lock from
the printing position.
3
Lower the scanner unit.
2
Fill ink tanks
Warning:
Keep the ink bottles out of the reach of children and do not
drink the ink.
Caution:
This product requires careful handling of ink. If ink spills,
wipe it off immediately with a damp towel to avoid permanent stains.
If ink gets on your clothes or belongings, it may not come off.
Note:
• Use only Epson 582 ink provided to you under the ReadyPrint
program.
• Use the ink bottles included with the printer to set up the product.
• The included ink bottles are designed for reliable printer setup and
cannot be resold.
1
Open the ink tank cover, then open the cap for the
black ink tank.
Note:
Refer to the color-coded sticker on the ink tank unit to
identify the color of each tank.
2
Unpack the black (BK) ink bottle. Hold the ink bottle
upright and slowly turn the bottle cap to remove it.
Caution:
Do not shake or squeeze the ink bottle. Do not touch
the top of the ink bottle after its cap is removed.
3
Insert the ink bottle into the filling port.
Note:
Do not force the bottle into position; each bottle is keyed
for each color.
