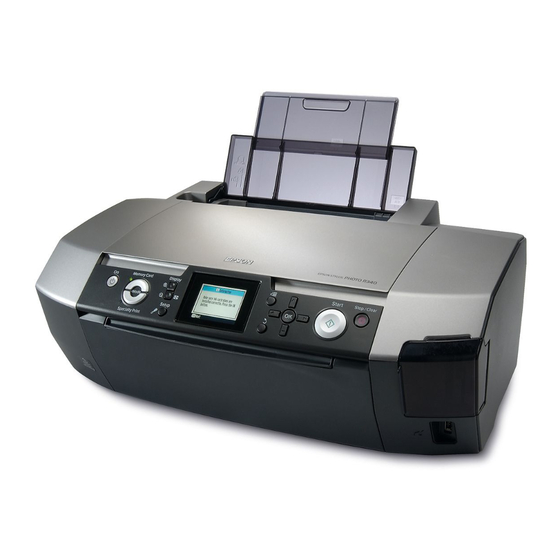
Epson R340 - Stylus Photo Color Inkjet Printer 여기에서 시작하기 매뉴얼 - 페이지 6
{카테고리_이름} Epson R340 - Stylus Photo Color Inkjet Printer에 대한 여기에서 시작하기 매뉴얼을 온라인으로 검색하거나 PDF를 다운로드하세요. Epson R340 - Stylus Photo Color Inkjet Printer 9 페이지. C11c607011
Epson R340 - Stylus Photo Color Inkjet Printer에 대해서도 마찬가지입니다: 기본 작동 매뉴얼 (40 페이지), 사양 (2 페이지), 매뉴얼 (13 페이지), 빠른 참조 (4 페이지), 사용 설명서 (4 페이지)

Macintosh
1
Insert the Epson CD-ROM.
2
Open the Epson CD-ROM desktop
icon and double-click the
icon.
3
Read the license agreement that
appears and click AGREE.
4
Click Install Printer Driver and follow the on-screen instructions.
Software installation takes several minutes.
5
Install any additional software and the User's Guide. When you are
done installing software, click Exit. The registration screen appears.
6
Follow the on-screen instructions to register your printer.
7
Connect the USB cable. Use any open USB port.
8
Remove the CD and restart your Macintosh.
9
Open the Applications > Utilities folder and select the Printer Setup
Utility (Mac OS
10
Click the Add button.
11
In Mac OS X 10.4.x, select Stylus Photo R340. If it doesn't appear, click
More Printers, select Epson USB, choose Stylus Photo R340, and click
Add.
In Mac OS X 10.2.4 to 10.3.x, select EPSON USB at the top and Stylus
Photo R340 below.
12
Click Add.
13
Quit Printer Setup Utility or the Print Center.
You're ready to print! See the Printer Basics book or your on-screen
User's Guide.
X 10.3.x to 10.4.x) or Print Center (Mac OS 10.2.4).
®
Mac OS X 10.4.x
Epson
Mac OS X 10.2.4 to 10.3.x
