Epson Stylus PHOTO 1290 설정 매뉴얼 - 페이지 12
{카테고리_이름} Epson Stylus PHOTO 1290에 대한 설정 매뉴얼을 온라인으로 검색하거나 PDF를 다운로드하세요. Epson Stylus PHOTO 1290 18 페이지. Color inkjet printer
Epson Stylus PHOTO 1290에 대해서도 마찬가지입니다: 브로셔 및 사양 (24 페이지), 사양 (3 페이지), 카트리지 교체 (2 페이지), 설정 매뉴얼 (17 페이지), 설치 지침 매뉴얼 (8 페이지)
1.
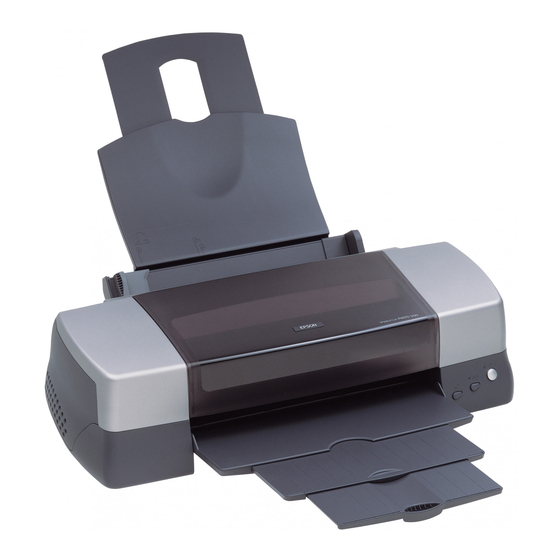
Lower the output tray and open the
printer cover.
2.
Turn on the printer by
pressing the P power
button.
The print head moves to
the left, which is the ink
cartridge installation
position. The P power
light flashes and the error
light comes on.
c
3.
Push back the release tabs and lift up the ink
cartridge clamps.
4.
Open the ink cartridge
packages. Next, remove only
the yellow tape seals from
each cartridge.
Downloaded from:
Caution:
Do not move the print head by hand. Doing so may damage the printer.
http://www.usersmanualguide.com/