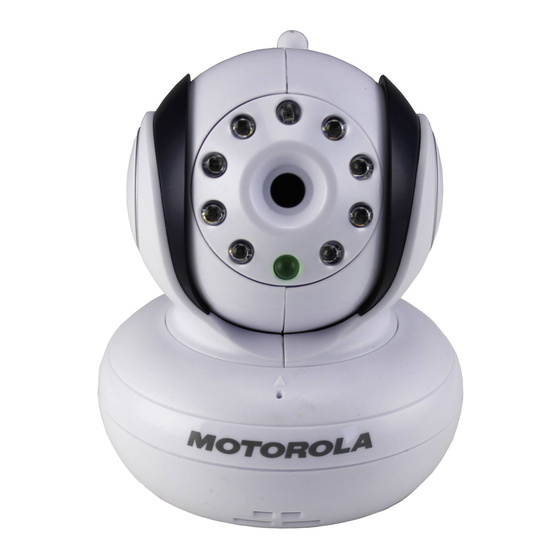
Motorola BLINK1 사용자 설명서 - 페이지 5
{카테고리_이름} Motorola BLINK1에 대한 사용자 설명서을 온라인으로 검색하거나 PDF를 다운로드하세요. Motorola BLINK1 25 페이지. Wi-fi
Motorola BLINK1에 대해서도 마찬가지입니다: 사용자 설명서 (26 페이지), 사용자 설명서 (23 페이지), 사용자 설명서 (46 페이지)

3. Getting started - Connecting Devices
How does it work?
Access your
camera locally
•
The Monitor Everywhere Server keeps track of the cameras.
•
When a user wants to access the camera, the server
authenticates the user and permits the user access to the
camera.
3.1 Setup
Connect the Camera to the power adapter and plug it into
a power socket. Wait the until camera LED changes to fast
blinking, which means that camera is in reset/setup state and
camera is ready for 'Camera Setup' registration. The Camera
must be within range of the Wi-Fi
to link.
Status of LED Indication:
- Reset / Setup state: fast blinking
- Unconnect state:
slow blinking
- Connect state:
always on
8
8
BLINK1_UK_V3_2013_02_28.indd 8-9
View your camera from
any device remotely
router with which you want it
®
Getting started
3.2 User Account and Camera Setup:
Working with devices for Android
•
Download and install the application "Monitor Everywhere"
from the Google Play
Store. Note: If you can't find the
™
application, then use your device browser to go to
www.monitoreverywhere.com for advice on how to install.
•
Turn on the Wi-Fi
®
of your device for Android
your wireless network.
•
Switch on the camera (see 5. Procedure for resetting the
Camera).
•
Run the "Monitor Everywhere" application. After initialisation,
the Baby Monitor Setup wizard appears.
•
Select CREATE ACCOUNT.
•
Select GET STARTED.
•
Follow the on-screen instructions and select the camera and
the Wi-Fi
®
connection that your camera can use. If necessary
enter a password.
•
Tap CONNECT TO Wi-Fi.
Getting started: Working with devices for Android
™
and select
™
9
9
™
28/2/13 2:06 PM
