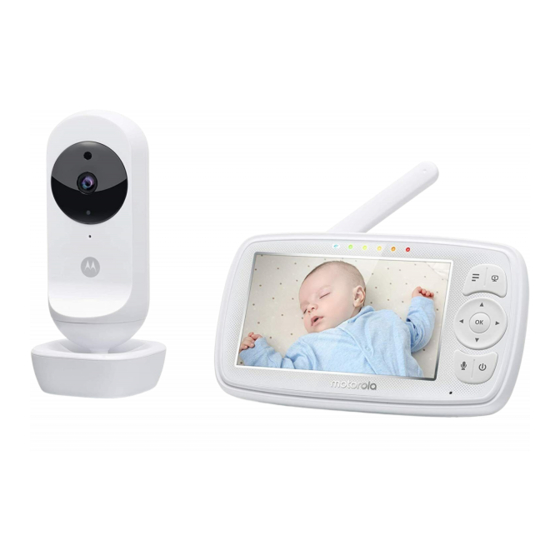
Motorola EASE44CONNECT 사용자 설명서 - 페이지 13
{카테고리_이름} Motorola EASE44CONNECT에 대한 사용자 설명서을 온라인으로 검색하거나 PDF를 다운로드하세요. Motorola EASE44CONNECT 44 페이지. 4.3" wi-fi video baby monitor
Motorola EASE44CONNECT에 대해서도 마찬가지입니다: 사용자 설명서 (38 페이지)

3. Using the Baby Monitor
3.1
Setting Up
Place the Baby Unit in a convenient location (e.g. on a table) and
point the camera lens towards the area you want to monitor.
Adjust the angle of the Baby Unit's camera until you are satisfied
with the image shown on the Parent Unit.
NOTE
Do not place the Baby Unit within the baby's reach! If there is inter-
ference with the picture or sound, try moving the units to different
locations, and ensure they are not close to other electrical equipment.
3.2
Night Vision Mode
The Baby Unit has 8 high-intensity infrared LEDs for picking up clear
images in the dark. When the built-in photo sensor on the top of the
Unit detects a low level of ambient light, the LEDs will automatically
activate and the screen on the Parent Unit will display in black and
white. The
icon will be displayed at the top of the screen.
3.3
Talk Mode
Press and hold the TALK button
your baby through the Baby Unit's loudspeaker.
The
icon will be displayed at the top of the LCD screen.
T
3.4
Video ON/OFF
Press
VIDEO On/Off button to turn the LCD screen on or off,
V
whilst still leaving the audio monitor on.
3.5
Temperature Display (HH °C / °F or LL °C / °F)
The temperature reading from the temperature sensor at the back
of the Baby Unit will be displayed at the top of the LCD screen. The
readings will turn RED if the temperature goes above 29°C / 84°F
or below 14°C / 57°F. The reading will change to HH °C / °F if the
temperature goes above 36°C / 97°F. The reading will change to LL
°C / °F if the temperature goes below 1°C / 34°F.
Using the Baby Monitor
on the Parent Unit to talk to
T
13
