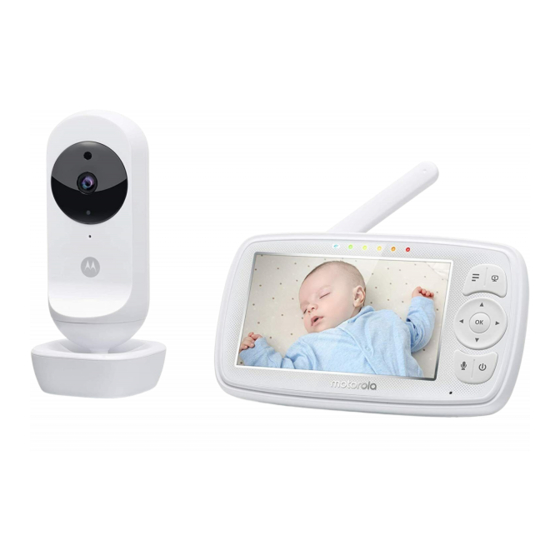
Motorola EASE44CONNECT-3 사용자 설명서 - 페이지 16
{카테고리_이름} Motorola EASE44CONNECT-3에 대한 사용자 설명서을 온라인으로 검색하거나 PDF를 다운로드하세요. Motorola EASE44CONNECT-3 38 페이지. 4.3" wi-fi video baby monitor
Motorola EASE44CONNECT-3에 대해서도 마찬가지입니다: 사용자 설명서 (44 페이지)

- DOWN button to select the desired Camera, and press the O
button to start searching for a camera unit.
Note: If a camera is currently paired with the Parent Unit, its camera location
(with a * against it) cannot be selected for a new registration.
5.
Press and hold the PAIR button on the underside of the Baby Unit until the
Parent Unit finds the camera, beeps and PAIR OK appears on the screen. The
video from the camera will then appear.
NOTE
A camera can only be registered to one Parent Unit at any one time.
4.6.2
View a camera
1.
Press the M button and the menu bar will pop up.
2.
Press the < LEFT button or > RIGHT button until
the
del/
3.
Press the + UP button or - DOWN button to select
O button to confirm.
4.
Camera
/
- DOWN button to select the desired Camera, and press the O
button to view the picture from that camera.
Note:
Only camera locations with a * can be selected.
TIP
You can also press the OK button repeatedly to select the avail-able
camera options from
4.6.3
Delete a camera
1.
Press the M button and the menu bar will pop up.
2.
Press the < LEFT button or > RIGHT button until
highlighted, and the
16
add/
view/
scan menu will pop up.
/
/
will pop up. Press the + UP button or
/
/
/
del/
add/
is highlighted, and
add, and press the
,
scan.
view/
pop up.
Parent Unit Menu Options
is
scan
menu will
