Motorola PIP1510-2 CONNECT 사용자 설명서 - 페이지 20
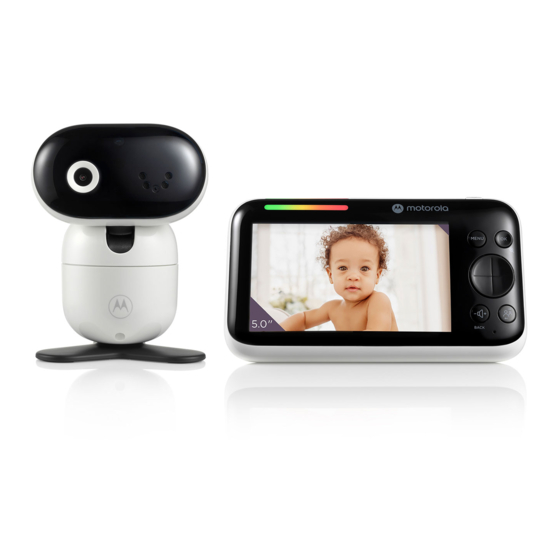
{카테고리_이름} Motorola PIP1510-2 CONNECT에 대한 사용자 설명서을 온라인으로 검색하거나 PDF를 다운로드하세요. Motorola PIP1510-2 CONNECT 29 페이지. 5.0" wi-fi motorized video baby monitor
Motorola PIP1510-2 CONNECT에 대해서도 마찬가지입니다: 사용자 설명서 (30 페이지)
4.3.5
Add a camera to your account
1.
Log in to the app.
2. Tap Devices, and then tap
3. Tap (your baby monitor model's name) to add the new camera.
4. Select and enter the password of your Wi-Fi® network and then tap Next.
5. Power on the camera and tap
6. Press and hold
red.
7. Tap
Continue
on your device when you hear the voice prompt
pairing'.
Generate QR code
8. Tap
in front of the camera to get scanned till you will hear a confirmation
message
'Pairing
Complete
9. Tap
when it is successfully connected. It may take a few minutes
for the camera to connect to the Wi-Fi® network.
10. If connection fails, tap
4.4
Reset the camera
You will need to reset your camera if you relocate your camera from one router
to another.
1.
Press and hold
voice prompt
2. Follow the section 3.6.2 to add the camera again.
20
on the device screen to add a new camera.
Continue
PAIR
at the bottom of the camera. The LED flashes blue and
on your device and hold the QR code 15 cm to 30 cm
success' from your device.
Retry
and repeat steps 1 - 10 in this section.
for about 20 seconds. Release it when you hear the
'Reset
camera'. The camera is reset successfully.
Viewing the baby through your device
on the app.
'Ready for