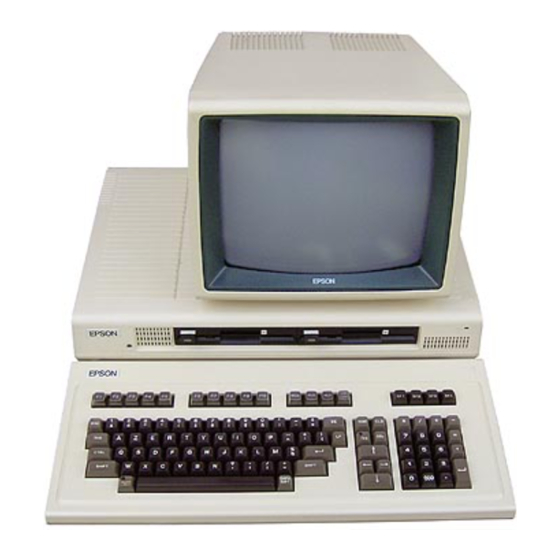
Epson QX-10 운영 매뉴얼 - 페이지 29
{카테고리_이름} Epson QX-10에 대한 운영 매뉴얼을 온라인으로 검색하거나 PDF를 다운로드하세요. Epson QX-10 45 페이지. Epson operations manual computer qx-10
Epson QX-10에 대해서도 마찬가지입니다: 운영 매뉴얼 (46 페이지)

Plugging In
Plug in the male end. Be careful! Connector prongs are easily
bent. If the cable end doesn't go in easily, it is probably upside
down. Make sure you have the cable end right side up and try
it again.
Once the cable end is in, push it gently to make sure that it
is in all the way. If you're attaching a parallel cable, fasten the wire
loops over each side of the plug to secure it. If it's a serial cable,
tighten the screws on each side of the plug.
Powering Up
Follow the procedure in your manual for connecting your ex-
ternal device. When everything is in order, check to make sure
the power switch is in the OFF position. Then plug the power
cord into the wall outlet. You are now ready to turn the power ON.
Installing Option Cards
Option cards, like external devices, are accessories that you add
to increase the versatility of your QX-10. Unlike external devices,
however, option cards are installed internally. Some option cards
are equipped with outlets for external devices, while others are
designed to work directly with the QX-l0 or to be used with built-in
devices.
For cards with their own outlets built in, you'll need to remove
one of the pop-out access panels on the back of the main unit.
Otherwise, the installation procedure is the same for both types.
27
