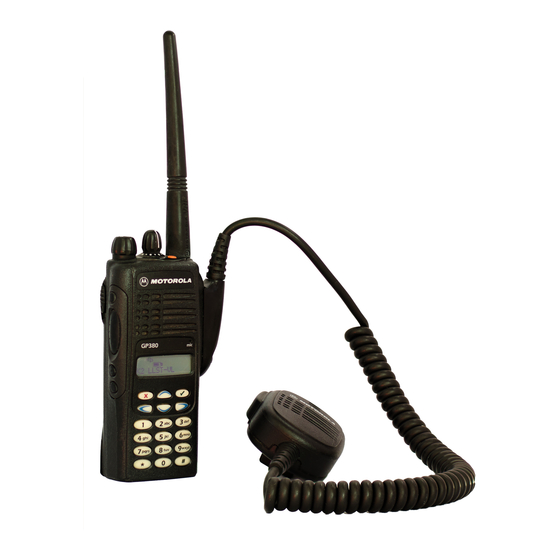
Motorola GP series 사용자 설명서 - 페이지 5
{카테고리_이름} Motorola GP series에 대한 사용자 설명서을 온라인으로 검색하거나 PDF를 다운로드하세요. Motorola GP series 16 페이지. Professional radio
Motorola GP series에 대해서도 마찬가지입니다: 서비스 매뉴얼 (26 페이지), 서비스 정보 (24 페이지), 서비스 정보 (31 페이지), 서비스 정보 (43 페이지), 서비스 정보 (30 페이지), 매뉴얼 (30 페이지)

1.0
Keypad and Flexible Connectors
1.1
Keypad
The keypad block diagram is shown in Figure 1-1. U602 is a comparator that will compare the
voltage when any one of the keypad row or keypad column keys is being pressed. Therefore when a
key is being pressed, it will send a message to the microprocessor through the output (KEY_INT)
telling it that a key has been pressed. The microprocessor then sample the analog to digital voltages
at the keypad row and keypad column and map it with a table so that the key pressed being can be
identified. Once the key has been identified, the message that corresponds to the key will show up
at the display.
The LED_EN setting is set by the codeplug. When the value is set to high, the LED does not light up
during power up and vice versa.
1.2
Flexible Connectors
Flexible ribbon circuits (flexes) are used to connect the keypad and radio front panel components
with the circuit boards. The flexes are locked into place in their connectors by latches which must be
released before the flexes may be disconnected during maintenence disassembly.
Two types of flexible ribbon circuits are used in the radios:
■
Keypad/Controller Interconnect flex - used for connecting the keypad with the main board
circuits.
■
Universal Flex connector - used to make connections to the Speaker, Microphone and
accessory connector.
Data
40 pin connector
Key_Int
Comparator
LED
Figure 1-1 Keypad Block Diagram
THEORY OF OPERATION
Keypad Column
Keypad
Row
Keypad
Button
Chapter 1
