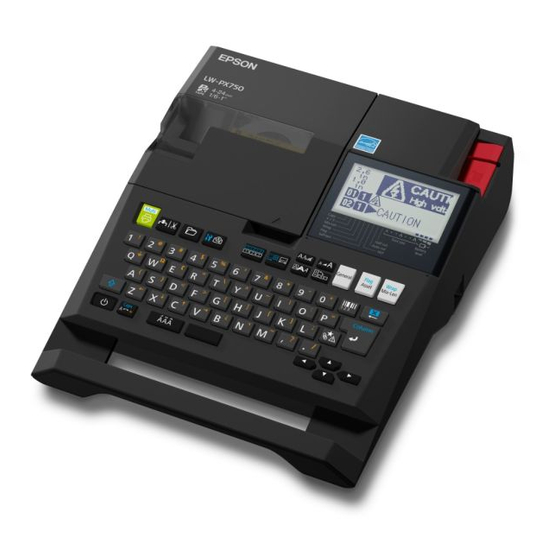
Epson LABELWORKS PX 운영자 매뉴얼 - 페이지 6
{카테고리_이름} Epson LABELWORKS PX에 대한 운영자 매뉴얼을 온라인으로 검색하거나 PDF를 다운로드하세요. Epson LABELWORKS PX 14 페이지.
Epson LABELWORKS PX에 대해서도 마찬가지입니다: 사용자 설명서 (4 페이지)
SET UP
Before use
1. Preparing the power supply
This product operates on batteries or with the dedicated AC adapter.
Using on batteries
Prepare six AA alkaline batteries.
If the rubber guard is attached, remove it. Attach the rubber guard after
inserting batteries.
1. Remove the cover on the rear.
2. Insert the batteries.
Do not reverse
polarity.
3. Close the cover. Close it until it snaps into place.
Using with the AC adapter (APT0615Z2-1)
Make sure to use the specified AC adapter
(APT0615Z2-1).
1. Connect the AC adapter firmly into the power socket of the product.
2. Plug the AC adapter into the outlet.
2. Installing a tape cartridge
If the rubber guard is attached, remove it. Attach the rubber guard after
installing the tape cartridge.
1. Remove the slack of the ink ribbon.
2. Remove the cover on the rear.
3. Set the tape cartridge.
Press it firmly until it snaps into place.
When installing a new tape or the tip of the tape is longer than usual, put
the tape through the "Tape Guide" slot.
• Do not press the "Cut Button" before the tape stops.
• Do not pull the tape out with your fingers.
4. Close the cover on the rear.
Close it until it snaps into place.
How to remove the tape cartridge
Hold the tape cartridge by the tabs, and lift it
straight up.
3. Turning the power on
1. Press
.
When changing the language of messages on the display
Settings ("Display" menu)
4. Feeding the tape
Do not press the "Cut Button" before the tape stops.
After setting a tape cartridge, make sure to feed tape.
1. Press
+
.
2. Press
.
3. Cut the tape.
Cut it by pressing the "Cut Button".
Turn the power off after use
J
1. Press
.
Batteries:
Take them out if not in use for a long time.
AC adapter:
Disconnect from the outlet and the product.
Display
6