Epson EasyMP Network Projection 운영 매뉴얼 - 페이지 7

{카테고리_이름} Epson EasyMP Network Projection에 대한 운영 매뉴얼을 온라인으로 검색하거나 PDF를 다운로드하세요. Epson EasyMP Network Projection 50 페이지. Multimedia projector
Epson EasyMP Network Projection에 대해서도 마찬가지입니다: 운영 매뉴얼 (47 페이지), 업데이트 지침 (4 페이지), 운영 매뉴얼 (50 페이지), 운영 매뉴얼 (47 페이지), 운영 매뉴얼 (50 페이지), 운영 매뉴얼 (40 페이지), 운영 매뉴얼 (48 페이지), 운영 매뉴얼 (47 페이지)
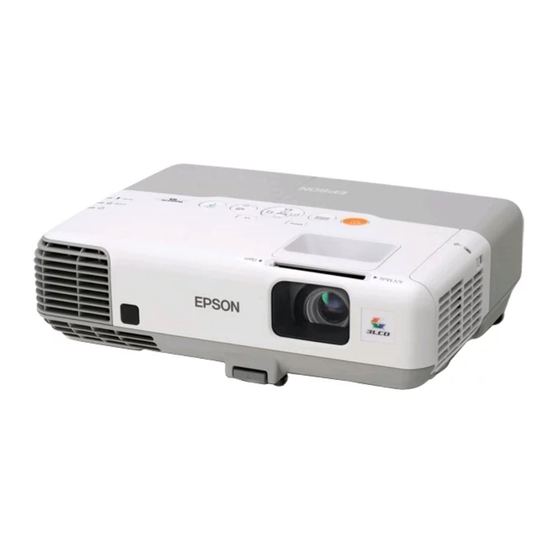
Epson EasyMP Network Projection 운영 매뉴얼
Installing the Software

Installing

Close all running applications before starting installation.
Make sure you check the following points before starting installation.
• Close all running applications before starting installation.
• When the language selected for the installation varies from that of the
OS being used, the screens may not be displayed correctly.
q
For EMP NS Connection users
The name of the software has changed.
Before change: EMP NS Connection
After change: EasyMP Network Projection
When using the same function as EMP NS Connection on the projector,
install EasyMP Network Projection after uninstalling EMP NS Connection.
Depending on the model, you may not be able to connect to the projector
correctly using EMP NS Connection.
For Windows
q
You need administrator authority to install EasyMP Network Projection.
A
Turn on your computer.
B
Insert the EPSON Projector Software CD-ROM into the
computer.
The installer starts automatically.
q
If the installer does not start automatically, open the CD-ROM drive from
My Computer (or Computer), and then double-click InstallNavi.
C
Follow the on-screen instructions to install.
For Mac OS
A
Turn on your computer.
B
Insert the EPSON Projector Software CD-ROM into the
computer.
C
Double-click the EMP_NPInstaller.mpkg icon in the EPSON
window.
Installation starts.
D
Follow the on-screen instructions to install.
q
You can download the latest version of EasyMP Network Projection from
www.epson.com and select your location.
7