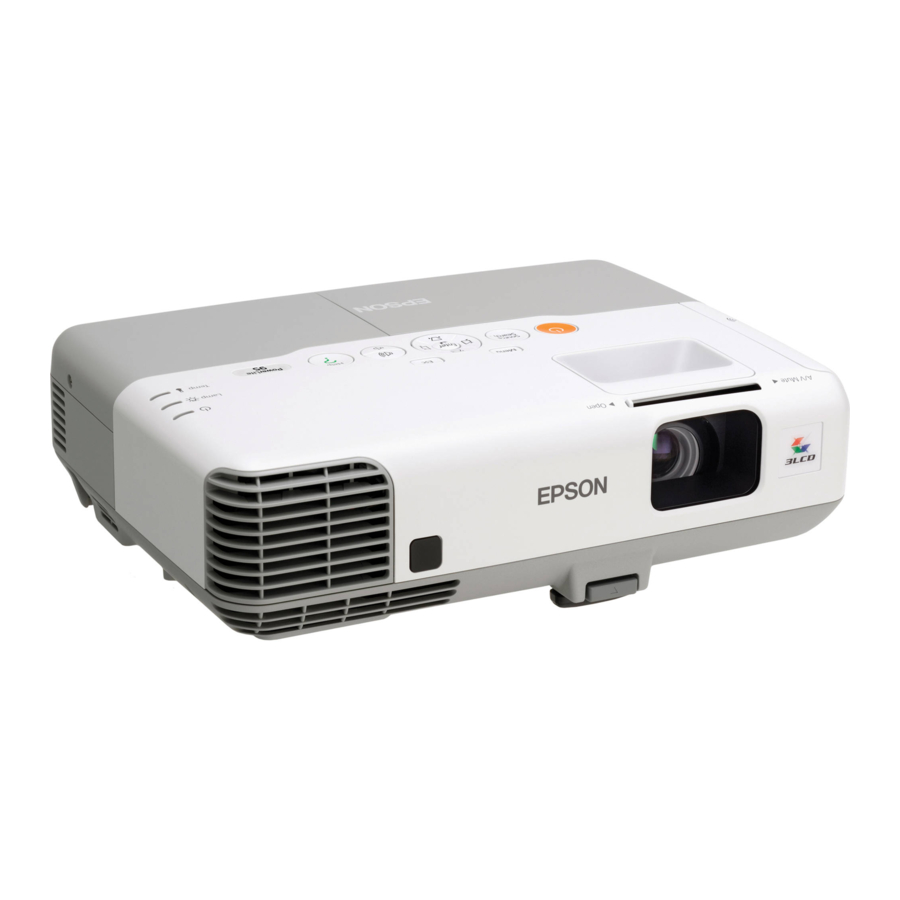
Epson PowerLite 1835 운영 매뉴얼 - 페이지 10
{카테고리_이름} Epson PowerLite 1835에 대한 운영 매뉴얼을 온라인으로 검색하거나 PDF를 다운로드하세요. Epson PowerLite 1835 50 페이지. Warranty statement
Epson PowerLite 1835에 대해서도 마찬가지입니다: 빠른 설정 (4 페이지), 브로셔 및 사양 (6 페이지), 제품 지원 게시판 (5 페이지), 적합성 선언 (4 페이지), 설치 핸드북 (3 페이지), 빠른 설정 (4 페이지)

Two Connection Modes
Preparing to Connect
Follow the steps below to connect the computer and the projector via a
network using EasyMP Network Projection.
A
Install EasyMP Network Projection on the computer to be
connected.
s "Installing"
p.7
B
Make network settings on the computer and put it into
network connection status.
See the documentation supplied with your the computer, LAN
adapter, or AirMac card for details on network settings.
q
When the computer you are using is normally connected to the network,
you do not need to make network settings on the computer.
C
For Quick Connection Mode
Install the Wireless LAN unit to the projector.
For Advanced Connection Mode
Make network settings on the projector and put it into network
connection status.
You can make network settings from the projector's Network
menu.
See your projector User's Guide for details.
D
Press the LAN button on the remote control.
The LAN standby screen is displayed.
If there is no signal for the current input source, it automatically
switches to the LAN source. If it does not automatically switch to
the LAN source, press the LAN button.
E
Start EasyMP Network Projection on the computer and
connect with the projector.
s "Connecting to a Projector on a Network and Projecting"
q
If a connection error occurs, a number indicating the type of error is
displayed as follows.
Event ID: 04xx
See your projector User's Guide for details on Event ID.
10
p.11
