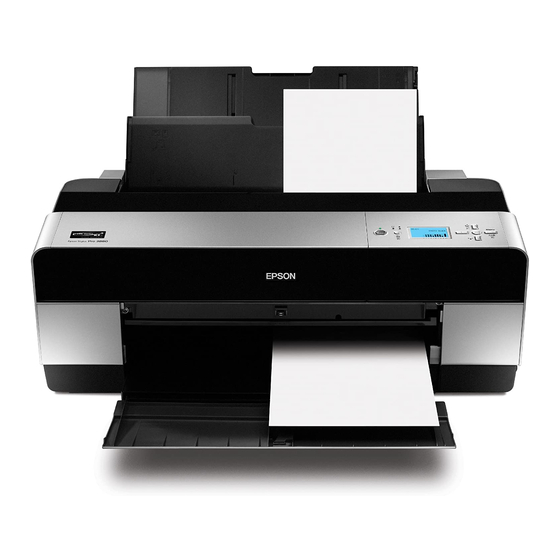
Epson Stylus pro 3800 portrait edition 여기에서 시작하기 매뉴얼 - 페이지 4

{카테고리_이름} Epson Stylus pro 3800 portrait edition에 대한 여기에서 시작하기 매뉴얼을 온라인으로 검색하거나 PDF를 다운로드하세요. Epson Stylus pro 3800 portrait edition 6 페이지. Fill, refill or use refillable cartridges
Epson Stylus pro 3800 portrait edition에 대해서도 마찬가지입니다: 매뉴얼 (49 페이지), 사용자 설명서 (19 페이지), 시작하기 (13 페이지), 브로셔 및 사양 (8 페이지), 제한 보증 (12 페이지), 설치 매뉴얼 (4 페이지), 공지 사항 (1 페이지), 브로셔 (6 페이지), 사양 (12 페이지), 매뉴얼 (3 페이지), 여기에서 시작 (2 페이지)

Epson Stylus pro 3800 portrait edition 여기에서 시작하기 매뉴얼
Windows
1
Make sure your computer and printer are turned on but the printer is NOT CONNECTED
to your computer.
If you see a Found New Hardware Wizard screen, click Cancel and disconnect the
Note:
USB cable. You can't install your software that way.
2
Insert the Epson Stylus Pro 3800 printer CD.
3
Double-click Stylus Pro 3800 Driver for USB.
When you see the license agreement, click Accept.
4
When you see a window asking you to connect the printer, connect the USB cable.
If installation doesn't
Note:
continue after a moment, make
sure you securely connected and
turned on the printer.
5
After the driver has been installed, click OK and follow the on-screen instructions to install the
EPSON LFP Remote Panel.
6
Double-click User's Guide and Network Guide to install the manuals.
7
When you're done, click Exit and remove the CD.

Load Paper

You can load paper in the auto sheet feeder, the rear manual feed slot, or the front manual feed slot.
In the front or rear slot, load just one sheet at a time. Follow the instructions below to load paper in the
auto sheet feeder or the rear manual slot. To load special media in the front slot, see the Printer Guide or
on-screen User's Guide.
Some paper types cannot be loaded in the auto sheet feeder. Check the Printer Guide or
Note:
on-screen User's Guide to make sure you are using the correct paper path for your media.

Auto Sheet Feeder

1
Flip open the paper guide and pull out its extensions (to accommodate your paper size).
2
Press the front cover to release it and open the output tray.