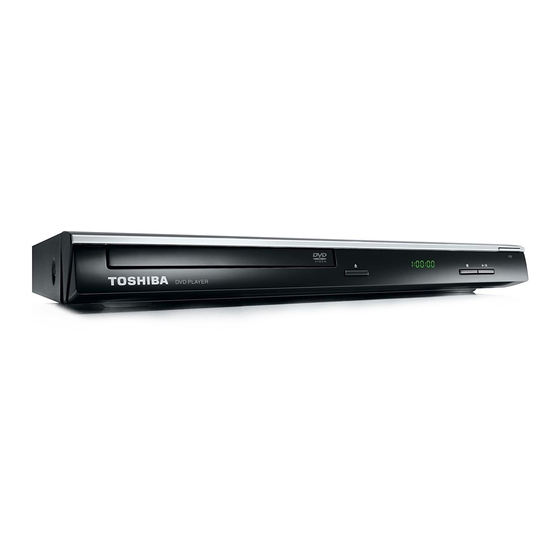
Toshiba SD-3010 소유자 매뉴얼 - 페이지 8
{카테고리_이름} Toshiba SD-3010에 대한 소유자 매뉴얼을 온라인으로 검색하거나 PDF를 다운로드하세요. Toshiba SD-3010 26 페이지.

Connections
Connecting to television
IMPORTANT!
– You only need to make one video connection
from the following options, depending on the
capabilities of your television.
– Connect the DVD player directly to the
television.
Using SCART socket
Use the scart cable to connect the DVD SCART OUT
A
to the corresponding scart input socket on the TV
(cable not supplied).
If your DVD player will not be connected to a Stereo
System or AV Receiver to hear better sound, scart is
enough for both audio and video connections.
Using Composite Video Jack(CVBS)
Use the composite video cable (yellow) to connect
A
the DVD player' s VIDEO(CVBS) jack to the video
input jack(or labelled as A/V in, Video In or
Composite) on the TV(cable not supplied).
To hear the sound of this DVD player through your
TV, use the audio cables(white/red)to connect
AUDIO OUT(L/R)jacks of the DVD player to
corresponding AUDIO IN jacks on the TV(cable not
supplied).
Helpful hint: Before making or changing any connections, make sure that all the devices are
disconnected from the power outlet.
Using HDMI
cable
TM
HDTV / DVI TV
HDMI IN
IMPORTANT!
– A simple 1-cable connection with a device
having an HDMI( high definition multimedia
interface ) connector allows digital transfer of
both digital video signals and multi-channel audio
signals. Use this connection for best picture
quality.
Use an HDMI cable (not supplied) to connect the DVD
A
player's HDMI out to HDMI IN on the HDMI TV.
Tips:
- Before making or changing any connections, make sure
that all the devices are disconnected from the power
outlet.
- If your TV has a DVI IN jack, you need a HDMI-DVI
adapter cable to connect the HDMI out jack on the
DVD player. This HDMI-DVI cable has only video
output capability, so it is necessary to use separate
analogue cable to transfer the audio signals. See
"Connecting to a Stereo System" or "Connecting to a
Digital AV Receiver" in page 8.
Selecting HDMI mode
During playback, press HDMI on the remote control to
select the HDMI video resolution. The video resolution
changes as follows every time HDMI is pressed.
Auto g 480p/576p g 720p g 1080i g 1080p
Tips:
- If Auto is selected, it follows preference HDMI aspect
ratio of TV.
- The HDMI mode that is not supported by your TV will
not be selected.
- No Sound will be output from the HDMI cable if the
Digital Output is not set to PCM.
-If the audio format of the Digital Output does not
match the capabilities of your receiver, the receiver
will produce a strong, distorted sound or no sound at
all.
-If your TV only supports 1080i, 1080p will not be
selected.
- Because HDMI is an evolving technology, it is
possible that some devices with an HDMI input may
not operate properly with this DVD player.
- When connecting a HDMI cable and an AV cable
at the same time, it is recommended to use a HDMI-
certified (*) cable having a width of 20.5mm or below.
(*) HDMI-certified cable is the cable marked with the
"HDMI logo" on its connector.
HDMI IN
