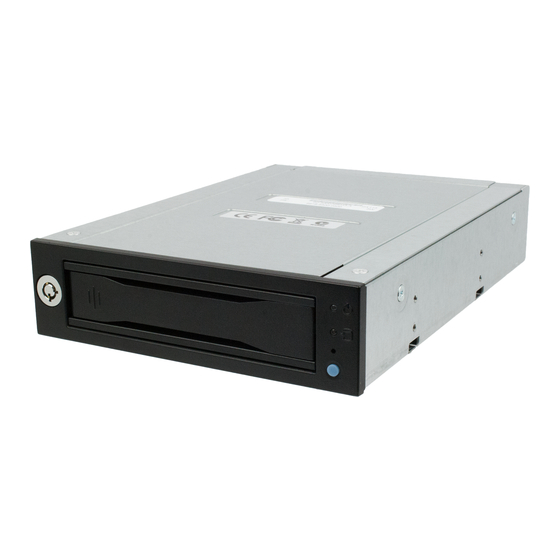
CRU Data Express DX115 DC 빠른 시작 매뉴얼 - 페이지 2
{카테고리_이름} CRU Data Express DX115 DC에 대한 빠른 시작 매뉴얼을 온라인으로 검색하거나 PDF를 다운로드하세요. CRU Data Express DX115 DC 4 페이지.

2
Data Express DX115 DC Quick Start Guide
1. Installation Steps
1.1 Frame Installation
a.
Slide the DX115 DC frame into an open 5.25-inch drive bay on your server or ingestion system.
b.
Secure the frame to the chassis with the mounting screws provided.
c.
Attach a SAS or SATA data cable to the data connector on the rear of the frame. Attach the other
end to the appropriate SAS or SATA port on the server or ingestion system.
d.
Attach a SATA power connector to the rear of the frame.
1.2 Hard Drive Installation
a.
If the carrier is locked into the frame, insert a Data Express Key into the lock and turn it 90
degrees clockwise.
b.
Push in on the ejection handle of the carrier to pop it out. Use the handle to remove the carrier
from the frame.
c.
Use a Phillips screwdriver to remove the two screws securing the carrier cover. The screws are
located on either side of the front of the carrier.
d.
Remove the cover and attach a 3.5-inch or 2.5-inch drive to the unified power and data connector
inside of the carrier.
e.
With one hand on the top of the drive, turn the carrier over. Then secure the drive to the carrier
using the mounting screws provided.
f.
Reattach the carrier cover and secure it using the two screws you removed in Step C.
2 Operating Your DX115 DC
2.1 Basic Operation
a.
Slide the DX115 DC carrier into the frame, then push the carrier handle in until it clicks. After a
few seconds, the DX115 DC will automatically start up.
b.
You may optionally secure the carrier to the frame. Insert the included Data Express Key into the
keylock and turn it 90 degrees counter-clockwise.
Your DX115 DC is now ready to use! If the drive inside is already formatted, it can be used right away.
If the drive is brand new or its format is not compatible with your computer, the drive will need to be
formatted before being used.
Formatting a drive will erase all data on the drive, so be sure to back up your data before
beginning this operation.
