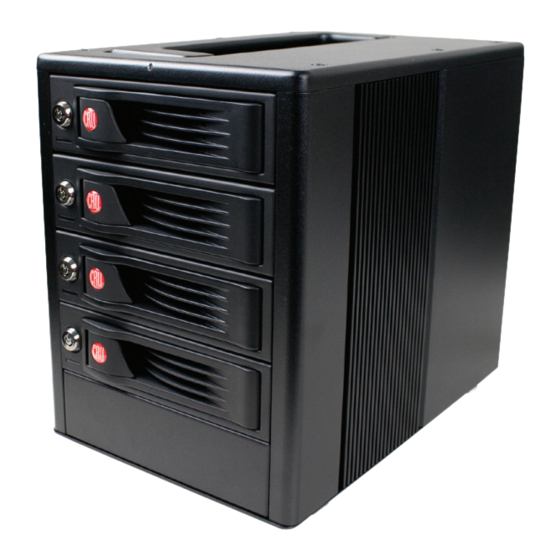
CRU Dataport RTX410-3QJ 사용자 설명서 - 페이지 4
{카테고리_이름} CRU Dataport RTX410-3QJ에 대한 사용자 설명서을 온라인으로 검색하거나 PDF를 다운로드하세요. CRU Dataport RTX410-3QJ 8 페이지. 4-bay hard drive array
CRU Dataport RTX410-3QJ에 대해서도 마찬가지입니다: 빠른 시작 매뉴얼 (2 페이지)

CRU
2. Using RTX
2.1 Installing hard drives
RTX features TrayFree technology, so installing a hard drive couldn't be easier! Simply pull the ejection
handle to open the door, slide a SATA drive inside, and shut the door behind it.
2.2 Connecting and powering RTX
Plug in the data cable and power cord. RTX can connect to your computer in one of several ways.
Cables for all data connection types are included for your convenience. Plug the power adapter cable
into a grounded electrical outlet.
Your RTX is now ready to use! Turn on the power switch on the back of the unit. If your drive is already
formatted, you can begin using it right away. New hard drives will need to be formatted before they can
be used.
3. Usage with Mac and Windows Operating Systems
3.1 Usage with Mac OS X
3.1.1 Compatibility
RTX uses 3.5-inch SATA (Serial-ATA) hard drives only. RTX does not require drivers for operation under
Mac OS X. However, if you install a host card specifically to work with this product, that card may require
drivers. See your card's User Manual for drivers and instructions.
3.1.2 Formatting a drive
If you purchased your RTX pre-populated with hard drives, this step should not be necessary unless you
wish to change the format or erase the drive. To format, use Mac OS X's Disk Utility (found in the
applications folder).
a) Click on the drive in the window to the left (see picture below).
b) Click the Erase tab in the window to the right (see picture below).
c) Select the format type. Most users prefer Mac OS Extended with Journaling (HFS+), which is required
for compatibility with Time Machine (OS 10.5 or newer). If you need to use your drive with both Mac and
Windows computers, select MS-DOS File System instead.
d) Enter a name for the new volume and then click "Erase" to start the process.
R T X 4 - b a y U s e r M a n u a l A 9 - 4 0 0 - 0 0 0 7 R E V 1 . 0
NOTE: To connect RTX410-3QJ to a
USB 2.0 host, you must use a USB 2.0
cable.
- 4 -
