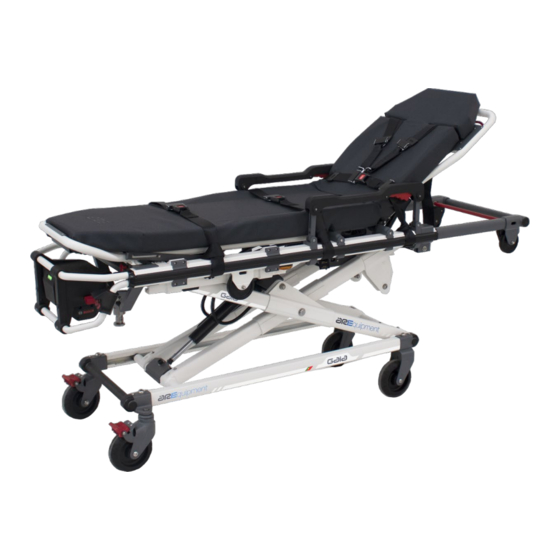
aRIEquipment GAIA E 매뉴얼 - 페이지 7
{카테고리_이름} aRIEquipment GAIA E에 대한 매뉴얼을 온라인으로 검색하거나 PDF를 다운로드하세요. aRIEquipment GAIA E 11 페이지. Powered stretcher

Figure11
WARNING: When pushing and pulling the stretcher track, it must be ensured that the
electric stretcher is fully folded to its shortest position, ensuring that the stretcher
and the track is locked with the fixing platform. If the stretcher is pushed and pulled
unlocked with the platform, and together they will be pulled out of the ambulance.
9. When the stretcher is not in the ambulance car, the track must be locked well with
the platform in ambulance during the driving process and it should be controlled by
the fixed lock on the front section of the stretcher track (Figure 12).
Note: If the stretcher is loading on the track, it must be in the unlocked position.
10. Track installation
10.1 The position corresponding to the green and blue holes on the track (Fig. 13)
is fixed with M8 bolts. Note that the bolt head cannot exceed the track surface (to
prevent the slider from moving)
The position corresponding to the red hole on the plate (Fig. 13) is fixed with M8
bolts.
10.2 When installing, try to install the platform by the position of the ambulance
door, ensure that the door can be closed and the electric stretcher can load into the
ambulance car (if there are some ambulances with pedals blocking the car, you
need to remove the pedal), as shown in Figure 14. )
10.3 Simulate the position of the platform in the ambulance before punching. After
ensuring that the boarding and closing doors are barrier-free, use a marker to
position the punching hole in the ambulance floor.
Note: Make sure that the floor of the ambulance car is flat when installing.
Warning:
Always check the position of the car's fuel tank and other car parts before
punching, avoiding the position of the fuel tank to prevent accidents.
5
Figure12
