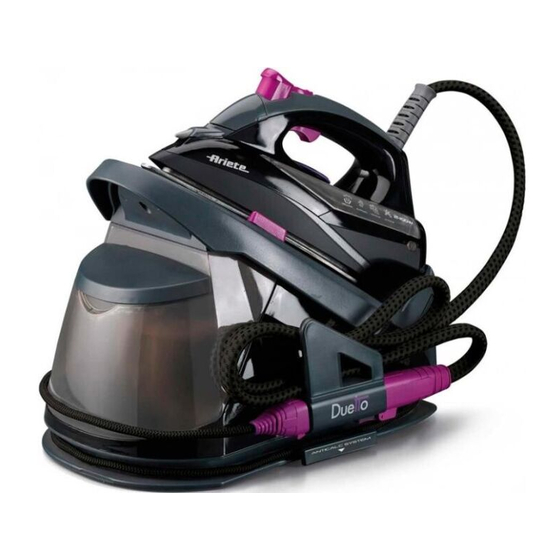
ARIETE DUETTO 매뉴얼 - 페이지 7
{카테고리_이름} ARIETE DUETTO에 대한 매뉴얼을 온라인으로 검색하거나 PDF를 다운로드하세요. ARIETE DUETTO 9 페이지.

Warning!
Do not release steam when the iron is standing on its grille rest (E).
The boiler is now automatically filled by a pump which produces a noise (vibration) lasting a few seconds every time it is
activated. A decrease in the steam output may occur soon after the pump starts operating: it is perfectly normal and after a
few seconds the steam will again be regular.
If the iron has not been used for a long time, it is advisable to keep it in a horizontal position and send a few shots of steam
to the floor in order to stabilize the jet before ironing.
shot of steam
Set the ironing temperature by turning the adjustment knob (L) past the symbol (
iron to turn off. Press the steam button (K) from 3 to 5 seconds (Fig. 12). An intense jet of steam will be dispensed when
at the button release. If the steam supply button (K) is operated continuously for more than 30 seconds, drops of water
may come from the steam holes in the plate of the iron. It is recommended that the button (K) is used for shorter periods.
continuous steam
Set the ironing temperature by turning the adjustment knob (L) past the symbol (
iron to turn off. When the temperature is reached, press the steam button (K) Fig. 13. The cursor (J) will lock the button,
making the jet of steam exit continuously and steadily. To unlock the button (K) and stop the continuous jet, press the cursor
(J) forward (Fig. 15).
Temperature selection
First check whether the fabric has a label containing ironing instructions and compare the symbol with the instructions which
follow. If there is no label with instructions, but you know the type of material, follow the instructions below.
Note that the table refers to fabrics not treated with sizing agents or similar products; if they have been, you can also iron
at a lower temperature.
When you change the temperature by turning the adjustment knob (L), the light (N) will turn on and stay on until the iron
reaches the new temperature.
filling the boiler during use
always check the level of water in the tank while you are ironing.
add enough water to the tank so that the water level is always visible. do not go past the maX level.
If the tank remains without water, you will notice a vibration and a louder noise. Turn off the appliance by pressing the switch
(L). unplug it from the electric outlet.
Warning!
Always turn off the appliance and remove the power cable plug from the socket-outlet before filling the tank with
water.
Add water directly in the tank (Fig. 9). Insert the plug into the electrical outlet and turn on the appliance again.
If the appliance is not switched off promptly, overheating of the pump could cause a momentary stoppage of the appliance.
Therefore it is necessary to switch off the appliance and fill the tank. Wait about an hour for the appliance to cool down and
resumes normal operation.
spray button
Make sure there is water in the tank of the iron (M). Press the spray button (I). To enable this feature you may need to press
the spray button repeatedly (Fig. 16).
Dry ironing
Dry (that is, steam less) ironing is obtained by plugging in the appliance, turning on the iron by means of switch (P), and
setting thermostat knob (L) on the desired temperature. Do not press the steam button.
vertical ironing
You can use the jet of continuous steam for ironing hanging fabrics. This special ironing procedure serves to remove
creases from curtains, fabrics, etc. Set the ironing temperature by turning the adjustment knob (L) past the symbol (
Put the curtain or fabric in the position you want to iron it vertically and press the steam button.
Warning!
Do not iron fabrics held by other people.
After ironing
Turn off the appliance by pressing the switch (P). Remove the power cable from the socket-outlet. Replace the power cord
and the iron-boiler connecting cable in the cord storage compartment (T). Let the iron cool down on its stand, taking care
not to touch the power cables and connection with the hot parts of the appliance.
•••
). Wait for the indicator lamp (N) of the
•••
). Wait for the indicator lamp (N) of the
•••
).
15
