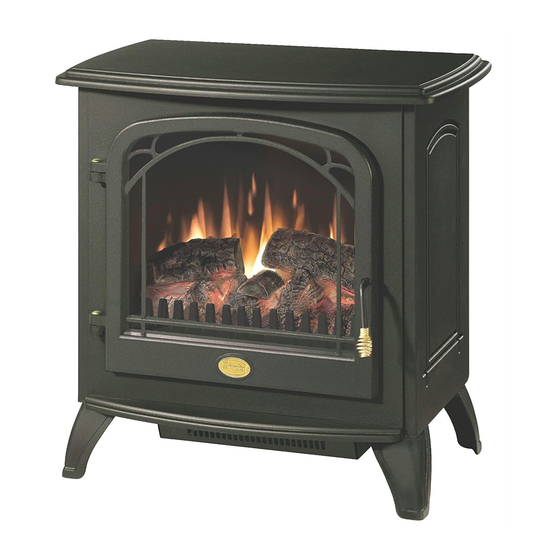
Dimplex DS5603 소유자 매뉴얼 - 페이지 10
{카테고리_이름} Dimplex DS5603에 대한 소유자 매뉴얼을 온라인으로 검색하거나 PDF를 다운로드하세요. Dimplex DS5603 14 페이지. Electric
Dimplex DS5603에 대해서도 마찬가지입니다: 서비스 매뉴얼 (13 페이지), 소유자 매뉴얼 (16 페이지)

2. Locate the upper bulb bracket.
3.
Bend light retainer bracket
down.
4.
Locate and remove the light
bulb.
5.
Insert new bulb.
6.
Bend light retainer bracket
back into its original position.
7.
Close the door.
Lower Light Bulb Requirements
Quantity of two (2) clear chandelier
or candelabra bulbs with an E-12
(small) socket base, 60 Watt rating.
Lower Bulb Replacement
1.
Open door by pulling the handle.
2.
Remove the screw from the log set located in the center of the
ember bed and remove the log set from the unit.
3.
Locate and examine the bulbs to determine which bulb(s) required
replacement.
4.
Locate and remove the light bulb(s).
5.
Insert new bulb(s).
6.
Install the log set into the unit, pushing firmly against the glass.
7.
Replace the log set retaining screw into the ember bed.
8.
Close the door.
Glass Cleaning
The clear door is cleaned in the factory during the assembly operation.
During shipment, installation, handling, etc., the clear door may collect
dust particles, these can be removed by dusting lightly with a clean dry
cloth.
To remove fingerprints or other marks, the clear door can be cleaned
with a damp cloth. The clear door should be completely dried with a
lint free cloth to prevent water spots. To prevent scratching, do not use
10
