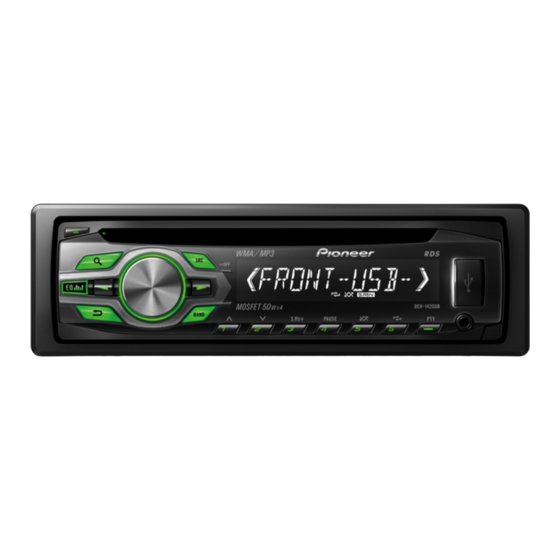
Pioneer DEH-1420UB 소유자 매뉴얼 - 페이지 8
{카테고리_이름} Pioneer DEH-1420UB에 대한 소유자 매뉴얼을 온라인으로 검색하거나 PDF를 다운로드하세요. Pioneer DEH-1420UB 18 페이지. Cd rds receiver

Operating this unit
This unit is equipped with a subwoofer output
which can be turned on or off.
1 Press M.C. to select the desired setting.
NOR (normal phase)—REV (reverse phase)—
OFF (subwoofer off)
SUB.W CTRL (subwoofer adjustment)
The cut-off frequency and output level can be ad-
justed when the subwoofer output is on.
Only frequencies lower than those in the selected
range are outputted from the subwoofer.
! When you select OFF in SUB.W, you cannot se-
lect this function. For details, refer to SUB.W
(subwoofer on/off setting) on the previous
page.
1 Press M.C. to display the setting mode.
2 Press M.C. to cycle between the cut-off fre-
quency and output level of the subwoofer.
Cut-off frequency (Cut-off frequency display
flashes.)—Output level (Output level display
flashes.)
3 Turn M.C. to select the desired setting.
Cut-off frequency: 50HZ—63HZ—80HZ—
100HZ—125HZ
Output level: –24 to +6
SLA (source level adjustment)
SLA (Source level adjustment) lets you adjust the
volume level of each source to prevent radical
changes in volume when switching between sour-
ces.
! Settings are based on the FM volume level,
which remains unchanged.
! The MW/LW volume level can also be adjusted
with this function.
! When selecting FM as the source, you cannot
switch to SLA.
1 Press M.C. to display the setting mode.
2 Turn M.C. to adjust the source volume.
Adjustment range: +4 to –4
3 Press M.C. to confirm the selection.
Initial settings
Important
PW SAVE (power saving) is cancelled if the ve-
hicle battery is disconnected and will need to be
turned back on once the battery is reconnected.
When PW SAVE (power saving) is off, depend-
ing on connection methods, the unit may con-
tinue to draw power from the battery if your
vehicle's ignition doesn't have an ACC (acces-
sory) position.
1
Press and hold SRC/OFF until the unit
turns off.
2
Press SRC/OFF and hold until function
name appears in the display.
3
Turn M.C. to select the initial setting.
After selecting, perform the following proce-
dures to set the initial setting.
CLOCK SET (setting the clock)
1 Press M.C. to display the setting mode.
2 Press M.C. to select the segment of the clock
display you wish to set.
Hour—Minute
3 Turn M.C. to adjust the clock.
CLOCK (clock display)
You can turn the clock display on or off.
The clock display disappears temporarily when
you perform other operations, but the clock dis-
play appears again after 25 seconds.
1 Press M.C. to turn the clock display on or off.
FM STEP (FM tuning step)
Autogood products «130»
Operating this unit
Normally, the FM tuning step employed by seek
tuning is 50 kHz. When AF or TA is on, the tuning
step automatically changes to 100 kHz. It may be
preferable to set the tuning step to 50 kHz when
AF is on.
! The tuning step remains at 50 kHz during man-
ual tuning.
1 Press M.C. to select the FM tuning step.
50 (50 kHz)—100 (100 kHz)
AUTO-PI (auto PI seek)
The unit can automatically search for a different
station with the same programming, even during
preset recall.
1 Press M.C. to turn Auto PI seek on or off.
AUX (auxiliary input)
Activate this setting when using an auxiliary de-
vice connected to this unit.
1 Press M.C. to turn AUX on or off.
USB PNP (plug and play)
This setting allows you to switch your source to
USB automatically.
1 Press M.C. to turn the plug and play function
on or off.
ON – When USB storage device is connected,
depending on the type of device, the source is
automatically switched to USB when you turn
on the engine. If you disconnect your USB stor-
age device, this unit's source is turned off.
OFF – When USB storage device is connected,
the source is not switched to USB automati-
cally. Please change the source to USB man-
ually.
REAR-SP (rear output setting)
The rear speaker leads output can be used for full-
range speaker or subwoofer connection.
If you switch to SW, you can connect a rear speak-
er lead directly to a subwoofer without using an
auxiliary amp.
Initially, REAR-SP is set for rear full-range speaker
connection (FUL).
1 Press M.C. to select the desired setting.
FUL—SW
! Even if you change this setting, there will
be no output if you select OFF in SUB.W
(Refer to SUB.W (subwoofer on/off setting)
on the previous page).
! If you change this setting, subwoofer out-
put in the audio menu will return to the fac-
tory settings.
PREOUT (preout setting)
The RCA outputs can be used for rear speaker or
subwoofer connection.
If you switch to SW, you can connect a rear speak-
er lead directly to a subwoofer without using an
auxiliary amp.
Initially, PREOUT is set for rear full-range speaker
connection (SW).
1 Press M.C. to select the desired setting.
SW—REA
! Even if you change this setting, there will
be no output if you select OFF in SUB.W
(Refer to SUB.W (subwoofer on/off setting)
on the previous page).
! If you change this setting, subwoofer out-
put in the audio menu will return to the fac-
tory settings.
DEMO (demo display setting)
1 Press M.C. to turn the demo display on or off.
! If PW SAVE is on, DEMO cannot be selected.
SCROLL (scroll mode setting)
Section
02
7
En
