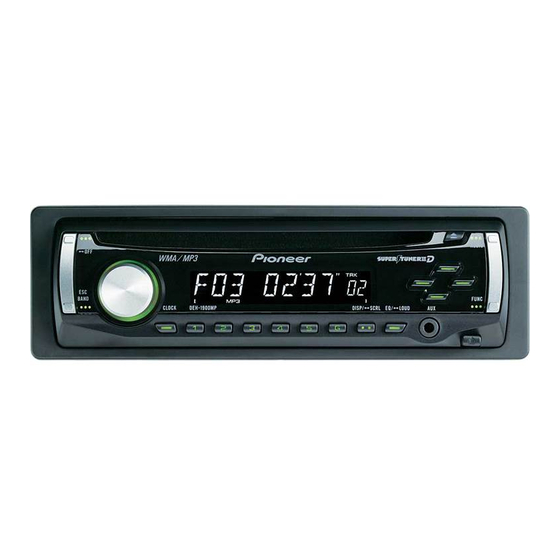
Pioneer DEH-9 운영 매뉴얼 - 페이지 7
{카테고리_이름} Pioneer DEH-9에 대한 운영 매뉴얼을 온라인으로 검색하거나 PDF를 다운로드하세요. Pioneer DEH-9 39 페이지. Pioneer deh-1900mp: user guide
Pioneer DEH-9에 대해서도 마찬가지입니다: 설치 매뉴얼 (4 페이지)

Operating this unit
3
To perform manual tuning, briefly press
c or d.
4
To perform seek tuning, press and hold
c or d for about one second and release.
The tuner will scan the frequencies until a
broadcast strong enough for good reception is
found.
# You can cancel seek tuning by briefly pressing
c or d.
# If you press and hold c or d you can skip sta-
tions. Seek tuning starts as soon as you release
the button.
Storing and recalling broadcast
frequencies
% When you find a frequency that you
want to store in memory, press one of pre-
set tuning buttons 1 to 6 and hold until the
preset number stops flashing.
Memorized radio station frequency can be re-
called by pressing the preset tuning button.
# Up to 18 FM stations, six for each of the three
FM bands, and six AM stations can be stored in
memory.
# You can also use a and b to recall radio sta-
tion frequencies assigned to preset tuning but-
tons 1 to 6.
Tuning in strong signals
Local seek tuning lets you tune in only those
radio stations with sufficiently strong signals
for good reception.
1
Press FUNCTION to select LOCAL.
2
Press a or b to turn local seek tuning
on or off.
3
Press c or d to set the sensitivity.
FM: LOCAL 1—LOCAL 2—LOCAL 3—
LOCAL 4
AM: LOCAL 1—LOCAL 2
The LOCAL 4 setting allows reception of only
the strongest stations, while lower settings let
you receive progressively weaker stations.
Storing the strongest broadcast
frequencies
BSM (best stations memory) lets you automa-
tically store the six strongest broadcast fre-
quencies under preset tuning buttons 1 to 6.
Once stored you can tune in to those frequen-
cies with the touch of button.
! Storing broadcast frequencies with BSM
may replace broadcast frequencies you
have saved using buttons 1 to 6.
1
Press FUNCTION to select BSM.
2
Press a to turn BSM on.
Six strongest broadcast frequencies will be
stored in the order of their signal strength.
# To cancel the storage process, press b.
Built-in Player
Playing a disc
1
Insert a CD into the CD loading slot.
Playback will automatically start.
# Be sure to turn up the label side of a disc.
# After a CD has been inserted, press SOURCE
to select the built-in CD player.
# You can eject a CD by pressing EJECT.
2
To perform fast forward or reverse,
press and hold c or d.
3
To skip back or forward to another
track, press c or d.
Notes
! Read the precautions with discs and player on
page 11.
! If an error message such as ERROR-11 is dis-
played, refer to Error messages on page 11.
Section
02
7
En
