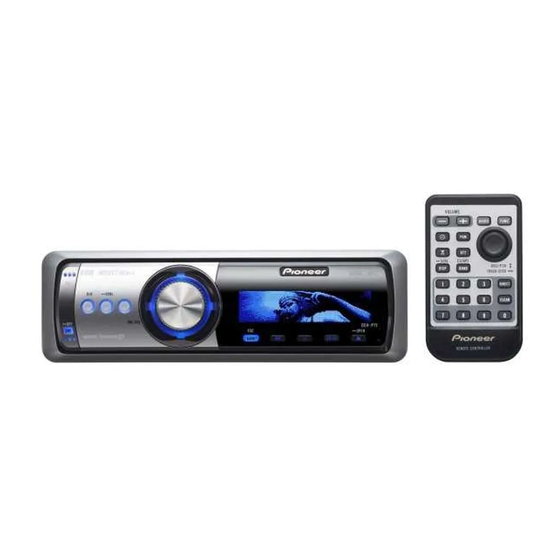
Pioneer DEH-P1Y 설치 매뉴얼
{카테고리_이름} Pioneer DEH-P1Y에 대한 설치 매뉴얼을 온라인으로 검색하거나 PDF를 다운로드하세요. Pioneer DEH-P1Y 8 페이지. Multi-cd control high power cd/mp3/wma player
Pioneer DEH-P1Y에 대해서도 마찬가지입니다: 운영 매뉴얼 (20 페이지)

DEH-P1Y
This product conforms to new cord colors.
Los colores de los cables de este producto se
conforman con un nuevo código de colores.
As cores dos fios deste produto seguem um novo
padrão de cores.
Æ...b¹b'« „öÝô« Ê«
uë lÄ "UN'« «c¼ r− M¹
Printed in Thailand
Imprimé en Thaïlande
<CRD3850-A/N> ES
<KSNZX> <04D00000>
6
60°
Fig. 1
Fig. 3
± qJAë
≥ qJAë
7
2
1
182
53
3
4
Fig. 2
Fig. 4
¥ qJAë
≤ qJAë
5
8
9
Fig. 5
µ qJAë
10
Fig. 6
∂ qJAë
Installation
Note:
•
Before finally installing the unit, connect the
wiring temporarily, making sure it is all connect-
ed up properly, and the unit and the system work
properly.
•
Use only the parts included with the unit to
11
ensure proper installation. The use of unautho-
rized parts can cause malfunctions.
•
Consult with your nearest dealer if installation
13
requires the drilling of holes or other modifica-
tions of the vehicle.
•
Install the unit where it does not get in the dri-
ver's way and cannot injure the passenger if there
is a sudden stop, like an emergency stop.
•
The semiconductor laser will be damaged if it
overheats, so don't install the unit anywhere hot
— for instance, near a heater outlet.
12
•
If installation angle exceeds 60° from horizontal,
the unit might not give its optimum performance.
(Fig 1)
Fig. 7
•
When installing, to ensure proper heat dispersal
when using this unit, make sure you leave ample
∑ qJAë
space behind the rear panel and wrap any loose
cables so they are not blocking the vents.
DIN Front/Rear-mount
This unit can be properly installed either from
"Front" (conventional DIN Front-mount) or
"Rear" (DIN Rear-mount installation, utilizing
threaded screw holes at the sides of unit chassis).
For details, refer to the following illustrated
installation methods.
DIN Front-mount
Installation with the rubber bush (Fig. 2)
1. Dashboard
2. Holder
After inserting the holder into the dashboard, then
select the appropriate tabs according to the thick-
ness of the dashboard material and bend them.
(Install as firmly as possible using the top and
bottom tabs. To secure, bend the tabs 90 degrees.)
3. Rubber bush
4. Screw
<ENGLISH>
Removing the Unit (Fig. 3) (Fig. 4)
5. Frame
6. Insert the release pin into the hole in the bottom
of the frame and pull out to remove the frame.
(When reattaching the frame, point the side with
a groove downwards and attach it.)
7. Insert the supplied extraction keys into the unit,
as shown in the figure, until they click into place.
Keeping the keys pressed against the sides of the
unit, pull the unit out.
DIN Rear-mount
Installation using the screw holes on
the side of the unit (Fig. 5) (Fig. 6) (Fig. 7)
1. Remove the frame.
8. Frame
9. Insert the release pin into the hole in the bottom
of the frame and pull out to remove the frame.
(When reattaching the frame, point the side with
a groove downwards and attach it.)
2. Fastening the unit to the factory
radio mounting bracket.
10. Select a position where the screw holes of the
bracket and the screw holes of the head unit
become aligned (are fitted), and tighten the
screws at 2 places on each side. Use either truss
× 8 mm) or flush surface screws
screws (5
(5 × 9 mm), depending on the shape of the screw
holes in the bracket.
11. Screw
12. Factory radio mounting bracket
13. Dashboard or Console
