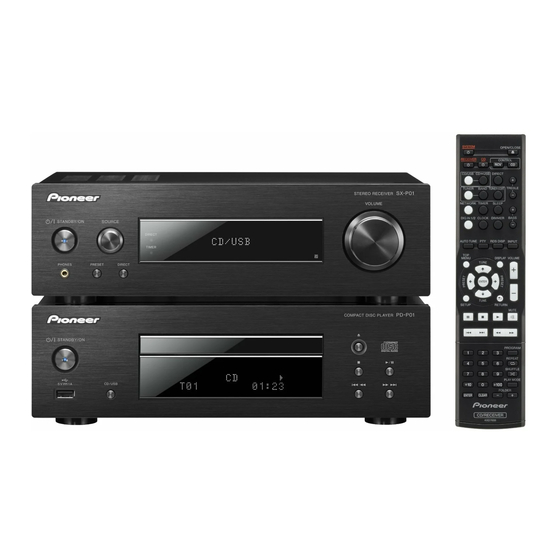
Pioneer XC-P01-S 빠른 시작 매뉴얼 - 페이지 3
{카테고리_이름} Pioneer XC-P01-S에 대한 빠른 시작 매뉴얼을 온라인으로 검색하거나 PDF를 다운로드하세요. Pioneer XC-P01-S 33 페이지. Cd receiver system/ampli-tuner cd
Pioneer XC-P01-S에 대해서도 마찬가지입니다: 사용 설명서 (30 페이지), 빠른 시작 매뉴얼 (33 페이지)

Connecting the speakers
Be sure to complete all connections before connecting the unit to the AC power source.
Right speaker
Left speaker
Connecting playback components
Connect the stereo receiver and CD player with the supplied remote control cable and RCA audio cable.
To REMOTE CONTROL
OUT socket
Remote control cable
To REMOTE CONTROL
IN socket
Connecting aerials
Connect the FM aerial wire (XC-P01) or DAB/FM aerial wire (XC-
P01DAB) as shown below.
FM aerial
Make sure you connect the speaker on the
right to the right (R) terminal and the speaker
on the left to the left (L) terminal. Also make
sure the positive and negative (+/–) terminals
on the stereo receiver match those on the
speakers.
You can use speakers with a nominal
impedance between 4 W and 16 W.
Stereo receiver (XC-P01 for example)
ANTENNA
CD player
Stereo receiver (XC-P01 for example)
ANTENNA
XC-P01DAB:
Connect the DAB/FM aerial
to the DAB/FM socket.
• These speaker terminals carry
• Make sure that all the bare speaker wire
To CD IN sockets
Connecting your iPod/iPhone/iPad mini or USB
device
Connect your iPod/iPhone/iPad mini or USB device to the iPod/
iPhone/iPad mini/USB terminal on the front panel of the CD player.
USB cable provided with iPod/iPhone/iPad mini
units, or a commercially available USB cable to
support iPod/iPhone/iPad mini (for iPod connection)
iPod/iPhone/iPad mini
USB mass
storage
device
CAUTION
HAZARDOUS LIVE voltage. To prevent
the risk of electric shock when connecting
or disconnecting the speaker cables,
disconnect the power cord before touching
any uninsulated parts.
is twisted together and inserted fully into
the speaker terminal. If any of the bare
speaker wire touches the back panel it
may cause the power to cut off as a safety
measure.
To AUDIO OUT sockets
3
En
