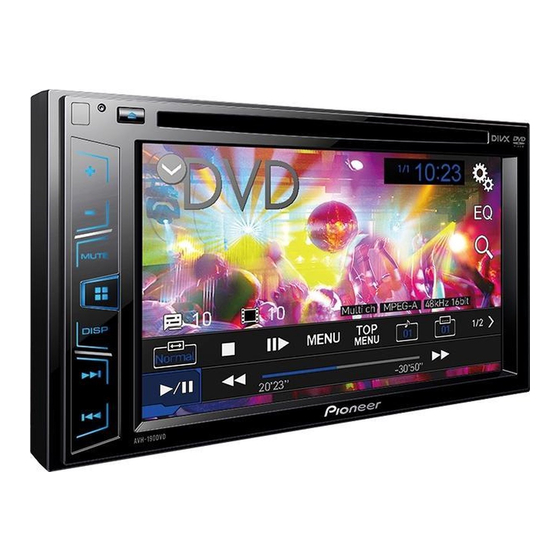
Pioneer AVH-290BT 소유자 매뉴얼 - 페이지 7
{카테고리_이름} Pioneer AVH-290BT에 대한 소유자 매뉴얼을 온라인으로 검색하거나 PDF를 다운로드하세요. Pioneer AVH-290BT 49 페이지. Dvd rds av receiver
Pioneer AVH-290BT에 대해서도 마찬가지입니다: 빠른 시작 매뉴얼 (33 페이지), 운영 매뉴얼 (38 페이지), 소유자 매뉴얼 (45 페이지), 설치 매뉴얼 (45 페이지)

Precaution
!)
Checking part names and functions on page 7
Settings and recorded contents are reset to the factory settings.
This manual uses diagrams of actual screens to describe opera-
tions. However, the screens on some units may not match those
shown in this manual depending on the model used.
Meanings of Symbols Used in This
Manual
MtiiiiJ:IM
This indicates model name that are supported
the described operations.
~
This indicates to touch an appropriate soft key
V
on the touch screen.
This indicates to touch and hold an appropriate
soft key on the touch screen.
This indicates that there is a reference or
supplementary for the key or screen.
Basic operation
1
RESET
!)
Resetting the microprocessor on page 6
button
2
Volume(+/-)
button
3
MUTE
Press to switch the mute setting to on or off.
button
4
:: button
Press to switch the display between the top
menu screen and the current source screen.
5
DISP
Press to turn the display on or off.
button
6
TRK(~
Performs manual seek tuning, fast forward,
~)
reverse and track search controls.
button
Press to answer or end a call.
7
..&. button
8
Disc-
!)
Inserting and ejecting a disc on page 7
loadmg
slot
9
LCD screen
The remote control CD-R33 is sold separately.
For details concerning operations, see the remote control
manual.
ACAUTION
Do not insert anything other than a disc into the disc-loading
slot.
Inserting and ejecting a disc
Inserting a disc
1 Insert a disc into the disc-loading slot.
Ejecting a disc
1
Press~
button to eject a disc.
Plugging and unplugging a USB stor-
age device
0
This product may not achieve optimum performance with
some USB storage devices.
0
Connection via a USB hub is not possible.
0
A USB cable is required for connection.
Pull out the plug from the USB port of the USB
cable.
2 Plug a USB storage device into the USB cable.
CD
USB cable
0
USB storage device
mi
Check that no data is being accessed before pulling out the
USB storage device.
1 Start the engine to boot up the system.
7
