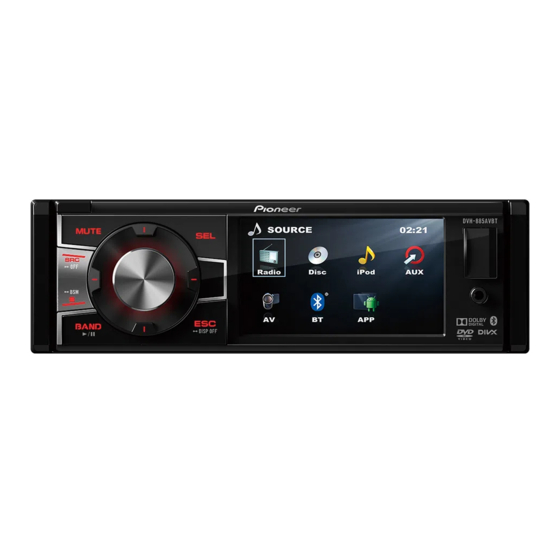
Pioneer dvh-885avbt 소유자 매뉴얼 - 페이지 26
{카테고리_이름} Pioneer dvh-885avbt에 대한 소유자 매뉴얼을 온라인으로 검색하거나 PDF를 다운로드하세요. Pioneer dvh-885avbt 40 페이지.

Section
04
Installation
Installation
Before installing this unit
1 Disconnect battery
Before you begin, always disconnect the
battery negative terminal.
Notes
• If the unit is to be installed in a car
equipped with an on-board drive or
navigation computer, if the battery cable
is disconnected, the computer memory
may be lost. Under these conditions, use
extra caution during installation to avoid
causing a short circuit.
• When installing, to ensure proper heat
dispersal when using this unit, make sure
you leave ample space behind the rear
panel and wrap any loose cables so they
are not blocking the vents.
Leave ample
space
2 Remove transport screws
Important
Remove these two transport screws before
installation. Otherwise, the disc player will
not work.
3 Remove unit from sleeve
Lift latches on both sides of sleeve to
remove half-sleeve from the unit.
Control Cables
Auto Brightness Control
To avoid the display being too bright at night
time, if the headlight cable is connected to
ILLUMI, turning on the headlight will dim the
backlight of the TFT LCD and vice versa.
Reverse Driving
If a rear view camera is connected with
the unit, the playing source switches to
CAMERA automatically when you start
reverse driving.
26
En
5 cm
5 cm
5cm
As the reverse driving is done, the playing
source switches to the previous.
Parking Brake
1 If "PARKING SW" cable is connected to
hand brake switch, video display on the
TFT monitor will be controlled by this
function. Parking cable function ceases
when the playing source is CAMERA.
2 The monitor displays the black screen
with warning information to prevent the
driver watching video contents during
driving, but the passengers at the rear
seat can watch video contents normally.
Mounting sleeve installation
1 S l i d e t h e m o u n t i n g s l e e v e o f f t h e
chassis. If it is locked into position, use
the removal tools (supplied) to disengage
it.
2 Check the dashboard opening size by
sliding the mounting sleeve into it.
If the opening is too small, carefully cut or
file as necessary until the sleeve easily
slides into the opening. Do not force
the sleeve into the opening or cause
it to bend or bow. Check for sufficient
space behind the dashboard for the unit
chassis.
T h i s u n i t c a n b e i n s t a l l e d i n a n y
dashboard with a suitable 183 mm (W) x
53 mm (H) opening as shown above. The
dashboard should be 4.75 mm to 5.56
mm thick in order to be able to support
the unit.
3 Locate the series of bend tabs along the
top, bottom, and sides of the mounting
sleeve. With the sleeve fully inserted into
the dashboard opening, bend as many of
the tabs outward as necessary to firmly
secure the sleeve to the dashboard (page
27).
CAUTION
For proper operation of the disc player,
the chassis must be mounted within
30° of horizontal. Make sure the unit is
mounted within this limitation.
