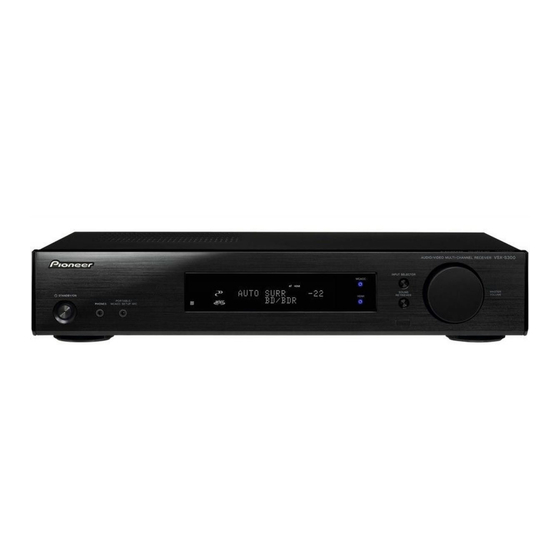
Pioneer VSX-S300-k 빠른 시작 매뉴얼 - 페이지 2
{카테고리_이름} Pioneer VSX-S300-k에 대한 빠른 시작 매뉴얼을 온라인으로 검색하거나 PDF를 다운로드하세요. Pioneer VSX-S300-k 33 페이지. Audio/video multi-channel receiver
Pioneer VSX-S300-k에 대해서도 마찬가지입니다: 작동 지침 (36 페이지)

Flow of settings on the receiver
TV
L
Front left
This receiver
Connecting the speakers
Connecting a TV and playback component
Plugging the receiver
Basic setup
Connecting the speakers
Make sure you connect the speaker on the right to the right (R) terminal and the speaker on the left to the
left (L) terminal. Also make sure the positive and negative (+/–) terminals on the receiver match those on
the speakers.
You can use speakers with a normal impedance between 4 Ω and 16 Ω.
Bare wire connections
Front speaker terminals:
1
Twist exposed wire strands together.
2
Loosen terminal and insert exposed wire.
3
Tighten terminal.
Other speaker terminals:
1
Twist exposed wire strands together.
2
Push open the tabs and insert exposed wire.
3
Release the tabs.
Front Right
Powerd
Subwoofer
LINE LEVEL
INPUT
COAXIAL
SURR BACK/
FRONT HEIGHT
Be sure to complete
all connections before
connecting this unit to
the AC power source.
2
En
The unit is a full-fledged AV receiver equipped with an
abundance of functions and terminals. It can be used
easily after following the procedure below to make the
connections and settings.
Blu-ray Disc player
SW
Subwoofer
C
Center
SL
Surround left
1
10 mm
1
10 mm
Center
SPEAKERS
A
FRONT
OPTICAL
R
L
CENTER
CD IN
TV IN DIGITAL AUX IN
AUDIO
L
(Single)
R
SUBWOOFER
PRE OUT
Surround
Surround
Right
English
R
Front right
SR
Surround right
2
3
2
3
Front Left
Subwoofer
S-SLW500
SUB
B
WOOFER SURROUND /
R
L
Left
VENTILATION CAUTION
When installing this unit, make sure to leave space
around the unit for ventilation to improve heat radiation
(at least 10 cm at top, 5 cm at rear, and 5 cm at each
side).
WARNING
Slots and openings in the cabinet are provided for
ventilation to ensure reliable operation of the product,
and to protect it from overheating. To prevent fire
hazard, the openings should never be blocked or
covered with items (such as newspapers, table-cloths,
curtains) or by operating the equipment on thick carpet
or a bed.
Placing the speakers
The receiver will work with just two stereo speakers (the
front speakers in the diagram) but using at least three
speakers is recommended, and a complete setup is
best for surround sound.
To achieve the best possible surround sound, install
your speakers as shown below.
2.1 channel surorund system:
5.1 channel surorund system:
R
L
L
SW
• In addition, surround back speakers, front height
speakers or Speaker B can also be connected.
"Connect the surround back or front height
speakers"
CAUTION
• These speaker terminals carry HAZARDOUS LIVE voltage.
To prevent the risk of electric shock when connecting or
disconnecting the speaker cables, disconnect the power
cord before touching any uninsulated parts.
• Make sure that all the bare speaker wire is twisted
together and inserted fully into the speaker terminal. If
any of the bare speaker wire touches the back panel it
may cause the power to cut off as a safety measure.
• Do not allow the speaker cable core to come into contact
with the receiver body.
– If the speaker cable core comes into contact with any
metal portion of the receiver's body, it may damage the
speakers and cause smoke and fire.
Insert speaker cables securely into the terminals and
check that the cable does not come out of easily.
Important
• SPEAKERS SUBWOOFER terminals are Pioneer's passive
subwoofer S-SLW500 connection terminals. If using
another model of subwoofer, be sure to use a model with
built-in amp and connect to the PREOUT SUBWOOFER
terminal.
• Please connect either passive or powered subwoofers,
as connecting both makes it impossible to achieve the
correct sound effect.
D3-4-2-1-7b*_A1_En
R
SW
C
SR
SL
