Pioneer VSX-524-K 사용 설명서 - 페이지 19
{카테고리_이름} Pioneer VSX-524-K에 대한 사용 설명서을 온라인으로 검색하거나 PDF를 다운로드하세요. Pioneer VSX-524-K 40 페이지. Av receiver
Pioneer VSX-524-K에 대해서도 마찬가지입니다: 사용 설명서 (38 페이지), 사용 설명서 (40 페이지), 빠른 시작 매뉴얼 (21 페이지), 빠른 시작 매뉴얼 (21 페이지)
Chapter
3
3
Basic Setup (VSX-524 only)
Before setting up
This receiver allows you to adjust the system setup, using the
on-screen display (OSD) that is shown on the TV screen.
•
The OSD will not appear if you have connected using the
HDMI output to your TV. Use composite connections for
system setup.
First, follow the procedure below to make sure that the OSD
screen is displayed.
1
Switch on the receiver and your TV.
2
Switch the TV input to the input that connects this
receiver to the TV through the corresponding
composite video cable.
For example, if you connected this receiver to the VIDEO
jacks on your TV, make sure that the VIDEO input is now
selected.
3
Press
RECEIVER
on the remote control, then press the
HOME MENU
button.
The Home Menu of the OSD screen will be displayed on
the TV. If nothing appears on the screen, try to change the
TV format setting on the receiver (see below).
Changing the TV format setting
If the OSD screen is not displayed correctly, it may be that the
TV system is set incorrectly for your country or region.
1
Switch the receiver into standby.
2
While holding down the TUNE button, press and hold
the
STANDBY/ON
button for about two seconds.
The display shows the new setting (PAL or NTSC).
Automatically setting up for surround sound
(MCACC)
The Auto Multi-Channel ACoustic Calibration (MCACC) setup
measures the acoustic characteristics of your listening area,
taking into account ambient noise, speaker size and distance,
and tests for both channel delay, channel level and X.Over.
After you have set up the microphone provided with your
system, the receiver uses the information from a series of test
tones to optimize the speaker settings and equalization for
your particular room.
CAUTION
•
The test tones used in the Auto MCACC setup are output at
high volume.
Important
•
The OSD will not appear if you have connected using the
HDMI output to your TV. Use composite connections for
Auto MCACC setup.
•
The Auto MCACC setup will overwrite any existing speaker
settings you've made.
•
Before using the Auto MCACC setup, the iPod/USB input
should not be selected as an input source.
19
1
Switch on the receiver and your TV.
2
Switch the TV input to the input that connects this
receiver to the TV through the corresponding
composite cable.
3
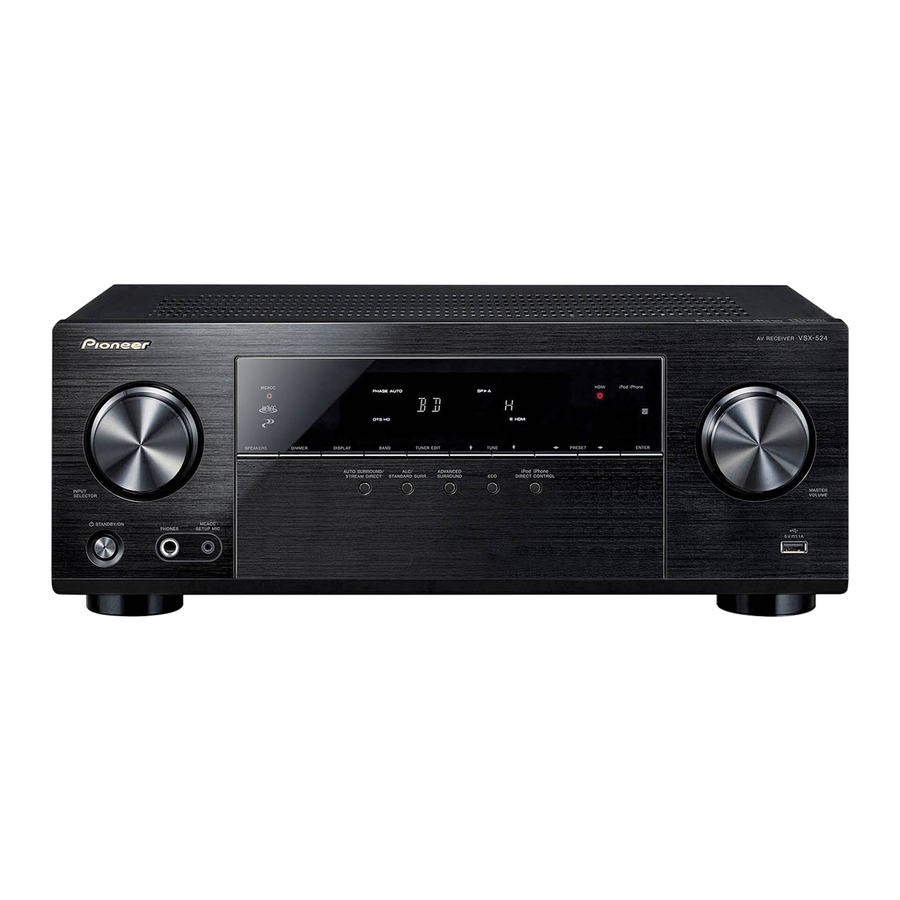
Connect the microphone to the MCACC SETUP MIC jack
on the front panel.
Make sure there are no obstacles between the speakers
and the microphone.
Microphone
Tripod
If you have a tripod, use it to place the microphone so that
it's about ear level at your normal listening position.
Otherwise, place the microphone at ear level using a
table or a chair.
4
6
36