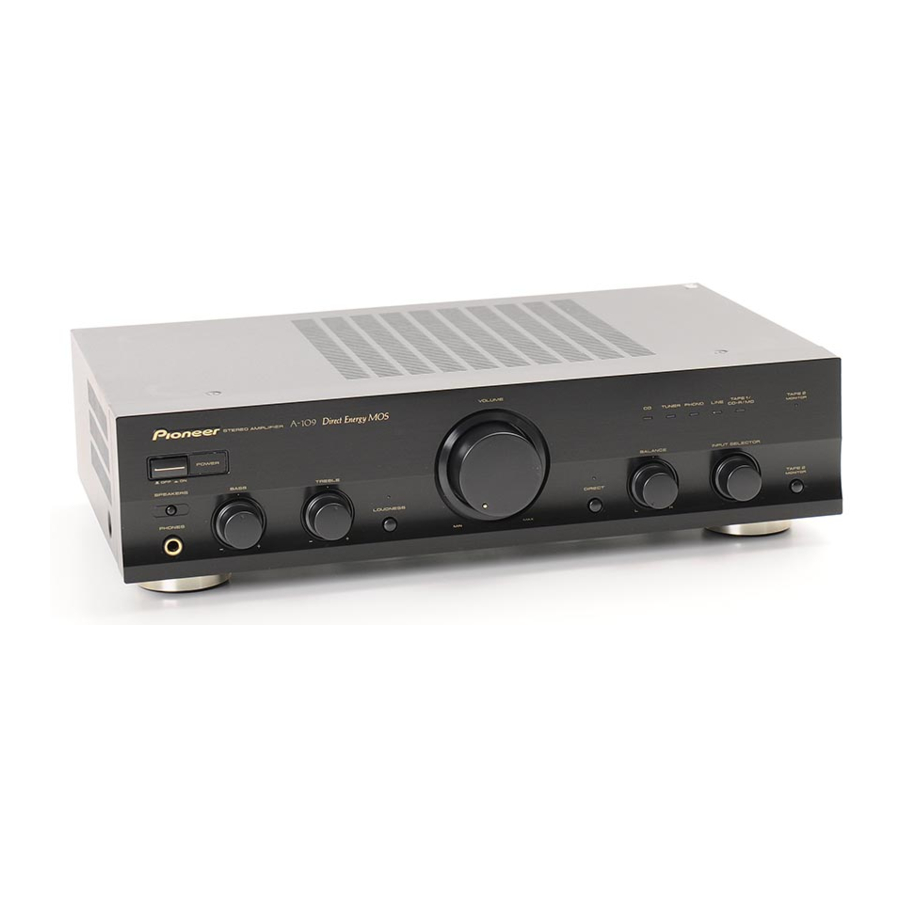
Pioneer A-109 사용 설명서 - 페이지 10
{카테고리_이름} Pioneer A-109에 대한 사용 설명서을 온라인으로 검색하거나 PDF를 다운로드하세요. Pioneer A-109 12 페이지. Stereo amplifier
Pioneer A-109에 대해서도 마찬가지입니다: 서비스 매뉴얼 (6 페이지), 사용 설명서 (32 페이지), 서비스 매뉴얼 (6 페이지), 서비스 매뉴얼 (6 페이지)

OPERATIONS
TO USE THE COMPONENT CONNECTED
TO THE TAPE2 MONITOR TERMINALS
[For a cassette deck]
÷ A cassette deck connected here can be operated in the
same way (recording and playback) as a deck connected to
the TAPE2 MONITOR terminals.
÷ Also, if two decks are used, you can copy tapes from one
deck onto the other (see the section on "COPYING TAPES").
1. Set the TAPE2 MONITOR button to ON.
2. Operate the cassette deck to perform playback
(or recording).
NOTE:
The source selected with the INPUT SELECTOR knob is
backed up for a few days even when the POWER switch is set
to off or the power cord is unpluged.
After this period, the CD is automatically selected when the
power is supplied.
[For an adaptor component]
By connecting a graphic equalizer, source sounds (from discs,
tapes, AM/FM broadcasts, etc.) can be heard with added
sound and tone compensation.
Sounds compensated with the adaptor component can be
recorded on the cassette deck connected to the TAPE1/CD-
R/MD terminals.
1. Set the TAPE2 MONITOR button to ON.
2. Play back the source.
3. Operate the adaptor component.
NOTE:
Be sure to perform this operation with the adaptor component
power switch in the on position. Even when not using the
adaptor component, its power switch must be left on. If the
adaptor component is switched off, no sound will be pro-
duced, or the playback sound will be distorted.
10
