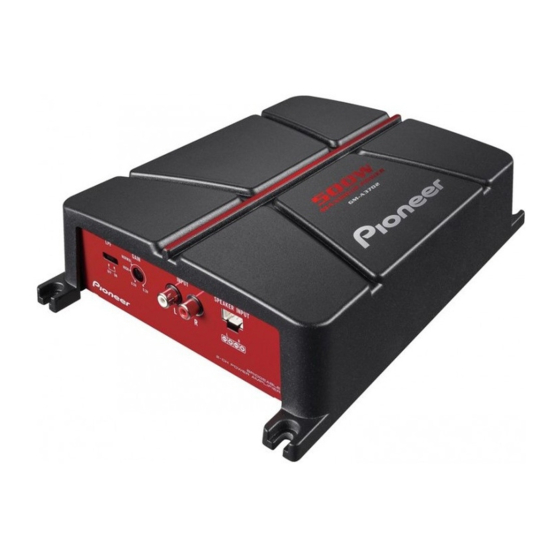
Pioneer GM-A5702 소유자 매뉴얼 - 페이지 6
{카테고리_이름} Pioneer GM-A5702에 대한 소유자 매뉴얼을 온라인으로 검색하거나 PDF를 다운로드하세요. Pioneer GM-A5702 33 페이지. Bridgeable two-channel
Pioneer GM-A5702에 대해서도 마찬가지입니다: 소유자 매뉴얼 (19 페이지), 소유자 매뉴얼 (33 페이지), 소유자 매뉴얼 (16 페이지)

Setting the unit
What's what
GM-A5702
Front side
Rear side
GM-A3702
Front side
Rear side
To adjust the switch, use a flathead screwdri-
ver if needed.
1 LPF (low-pass filter) switch
Switch the settings based on the connected
speaker.
! When the Subwoofer is connected:
Select ON. This eliminates high range
frequency and outputs low range fre-
quency.
! When the full range speaker is con-
nected:
Select OFF. OFF outputs the entire fre-
quency range.
2 FREQ (cut off frequency) control
Cut off frequency selectable from 40 Hz to
500 Hz if the LPF select switch is set to ON.
3 BASS BOOST (bass boost level control)
switch
You can select a bass boost level from 0 dB,
6 dB and 12 dB.
4 GAIN (gain) control
If the output remains low, even when the car
stereo volume is turned up, turn the con-
trols to a lower level. If distortion occurs
when the car stereo volume is turned up,
turn these controls to a higher level.
! For use with an RCA equipped car stereo
(standard output of 500 mV), set to the
NORMAL position. For use with an RCA
equipped Pioneer car stereo, with maxi-
mum output of 4 V or more, adjust level
to match that of the car stereo output.
! For use with an RCA equipped car stereo
with output of 4 V, set to the HIGH posi-
tion.
! If you hear too much noise when using
the speaker input terminals, turn the
gain control to higher level.
5 Power indicator
The power indicator lights up to indicate
power ON.
En
