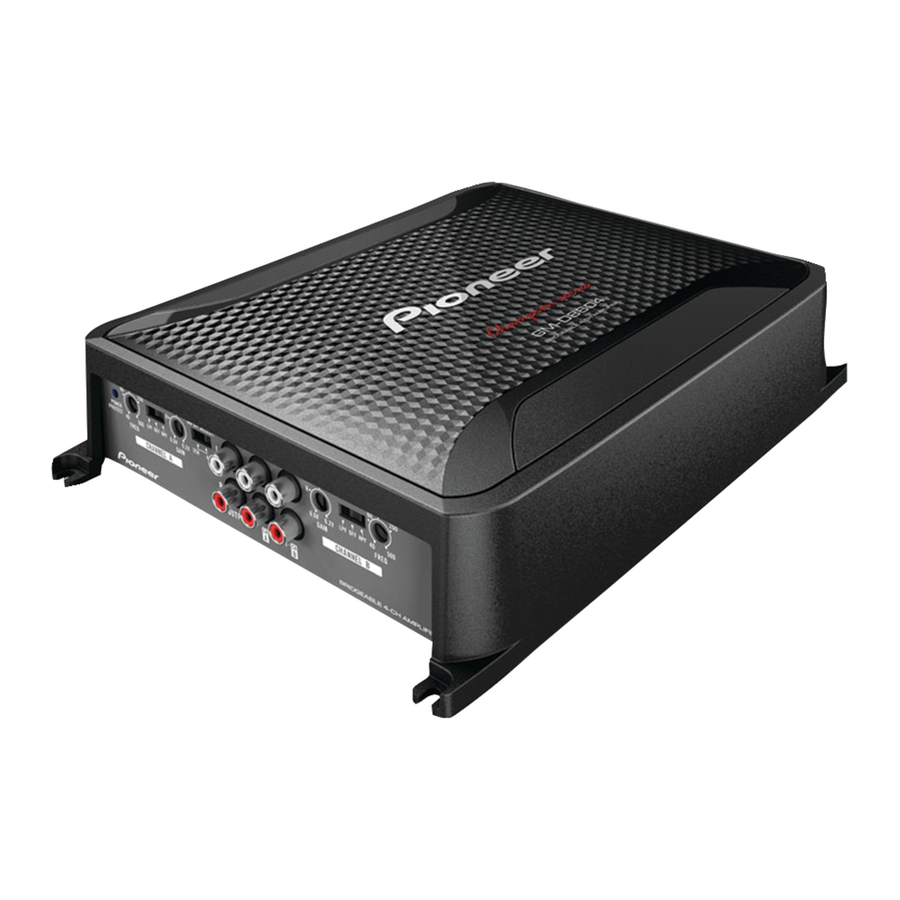
Pioneer GM-D8604 소유자 매뉴얼 - 페이지 10
{카테고리_이름} Pioneer GM-D8604에 대한 소유자 매뉴얼을 온라인으로 검색하거나 PDF를 다운로드하세요. Pioneer GM-D8604 15 페이지. Bridgeable four-channel power amplifier
Pioneer GM-D8604에 대해서도 마찬가지입니다: 소유자 매뉴얼 (44 페이지)

Section
03
Connecting the units
Four-channel / Three-channel output
! Slide INPUT SELECT (input select) switch
to 4CH position.
5
1 RCA input jack A
2 RCA input jack B
3 Connecting wires with RCA plugs (sold sepa-
rately)
4 From car stereo (RCA output)
If only one input plug is used, e.g. when the
car stereo has only one output (RCA output),
connect the plug to RCA input jack A rather
than B.
5 INPUT SELECT (input select) switch (4CH po-
sition)
Two-channel output (Stereo) / (Mono)
! Slide INPUT SELECT (input select) switch
to 2CH position.
4
1 RCA input jack A
For two-channel output, connect the RCA
plugs to the RCA input jack A.
1
2
3
4
1
2
3
2 Connecting wire with RCA pin plugs (sold se-
parately)
3 From car stereo (RCA output)
4 INPUT SELECT (input select) switch (2CH
position)
Connections when using
the speaker input wire
Connect the car stereo speaker output wires
to the amplifier using the supplied speaker
input wire with RCA pin cord.
1 Car Stereo
2 Speaker output
3 Red: Right +
4 Black: Right *
5 Black: Left *
6 White: Left +
7 Speaker input wire with RCA pin cord
To the RCA input jack of this unit
Notes
! If speaker wires with an RCA pin cord from a
headunit are connected to this amplifier, the
amplifier will automatically turn on when the
headunit is turned on. When the headunit is
turned off, the amplifier turns off automati-
cally. This function may not work with some
headunits. In such cases, please use a sys-
tem remote control wire (sold separately). If
multiple amplifiers are to be connected to-
gether synchronously, connect the head unit
and all amplifiers via the system remote con-
trol wire.
! Connect the system remote control wire when
you wish to only turn on the car stereo, not the
amplifier.
