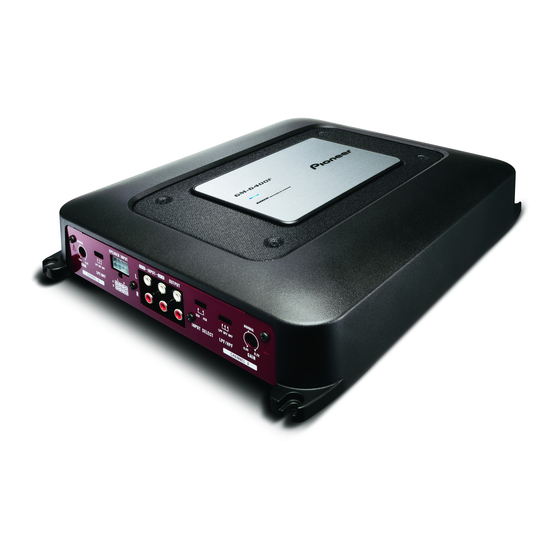
Pioneer GM6400F - Bridgeable Amplifier 소유자 매뉴얼 - 페이지 11
{카테고리_이름} Pioneer GM6400F - Bridgeable Amplifier에 대한 소유자 매뉴얼을 온라인으로 검색하거나 PDF를 다운로드하세요. Pioneer GM6400F - Bridgeable Amplifier 45 페이지. Bridgeable four-channel power amplifier
Pioneer GM6400F - Bridgeable Amplifier에 대해서도 마찬가지입니다: 소유자 매뉴얼 (17 페이지)

Connecting the units
5 Gray/black: CH A, Right *
6 Gray: CH A, Right +
7 Violet: CH B, Right +
8 Violet/black: CH B, Right *
9 Green/black: CH B, Left *
a Green: CH B, Left +
b Speaker input connector
To speaker input terminal of this unit.
Connecting the power
terminal
! The use of a special red battery and ground
wire RD-223, available separately, is recom-
mended. Connect the battery wire directly
to the car battery positive terminal (+) and
the ground wire to the car body.
WARNING
If the battery wire is not securely fixed to the term-
inal using the terminal screws, there is a risk of
overheating, malfunction and injury, including
minor burns.
1
Route battery wire from engine com-
partment to the vehicle interior.
After completing all other amplifier connec-
tions, finally connect the battery wire terminal
of the amplifier to the positive (+) battery
terminal.
1 Positive (+) terminal
2 Engine compartment
3 Vehicle interior
4 Fuse (30 A) × 2
5 Insert the O-ring rubber grommet into the
vehicle body.
6 Drill a 14 mm hole into the vehicle body.
2
Twist the battery wire, ground wire
and system remote control wire.
3
Attach lugs to wire ends. Lugs not sup-
plied.
Use pliers, etc., to crimp lugs to wires.
1 Lug
2 Battery wire
3 Ground wire
4
Connect the wires to the terminal.
Fix the wires securely with the terminal
screws.
Section
03
Twist
11
En
