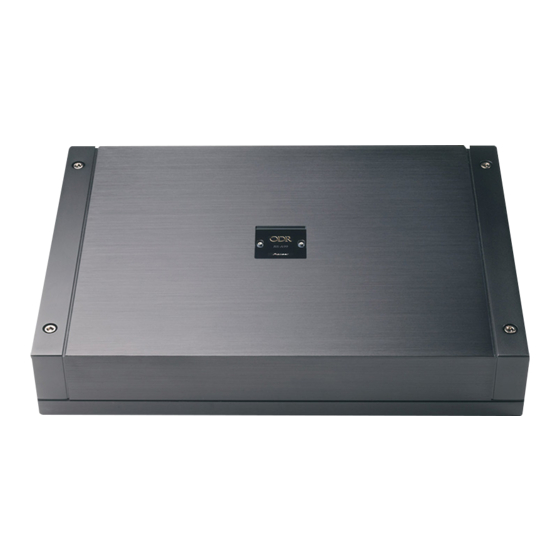
Pioneer RS-A99 소유자 매뉴얼 - 페이지 12
{카테고리_이름} Pioneer RS-A99에 대한 소유자 매뉴얼을 온라인으로 검색하거나 PDF를 다운로드하세요. Pioneer RS-A99 16 페이지. Optical digital reference system bridgeable four-channel power amplifier

Section
03
Connecting the units
1
7
6
1 Power terminal
2 System remote control terminal
3 Terminal screws
4 GND terminal
5 Ground wire
6 System remote control wire
7 Battery wire
3
Put the wire ties in the slits and wrap
the wire ties around the wires.
1 Wire tie
# Make sure the wires are connected and at-
tached properly before wrapping the wire ties
around the wires.
# Wrap the wire tie around the wire insulation,
not the stripped wire.
# Cut off any excess portions of the wire ties.
Connecting the speaker
output terminals
Use a wire of 12 AWG to 18 AWG wire for the
speaker wire.
12
En
2
3
4
5
1
1
Expose the end of the speaker wires
using nippers or a cutter by about 14 mm
to 16 mm.
1 14 mm to 16 mm
2
Connect the speaker wires to the
speaker output terminals.
Fix the speaker wires securely with the term-
inal screws.
1
3
1 Terminal screws
2 Speaker wires
3 Speaker output terminals
3
Put the wire ties in the slits and wrap
the wire ties around the wires.
1
1 Wire tie
# Make sure the wires are connected and at-
tached properly before wrapping the wire ties
around the wires.
# Wrap the wire tie around the wire insulation,
not the stripped wire.
# Cut off any excess portions of the wire ties.
1
2
