Ariston AWD 121 수리 매뉴얼 - 페이지 10
{카테고리_이름} Ariston AWD 121에 대한 수리 매뉴얼을 온라인으로 검색하거나 PDF를 다운로드하세요. Ariston AWD 121 20 페이지. Washer / washer-dryer combo
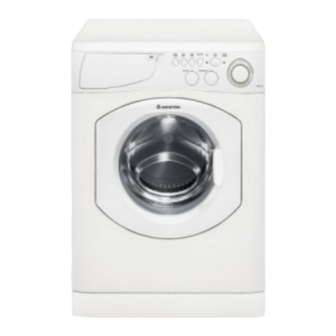
Ariston AWD 121에 대해서도 마찬가지입니다: 사용자 지침 (21 페이지), 설치 및 사용 설명서 지침 (17 페이지)
- 1. Table of Contents
- 2. Model & Serial Number Locations
- 3. Top Panel
- 4. Control Panel
- 5. Control Panel Components
- 6. Toe Kick & Drain Motor
- 7. Drum Boot
- 8. Door Switch
- 9. Water Valves
- 10. Heater Assembly (AWD 120 / 121 / 129 Only)
- 11. Pressure Switch
- 12. Rear Access Panel
- 13. Control Board
- 14. Main Motor
- 15. Fault Codes
- 16. Schematics
6. DRUM BOOT
• To remove the Drum Boot (Fig. 6-1) start by removing the Door Boot Spring (Fig. 6-2). The Door Boot Spring is located just under
the front lip of the Drum Boot. Using a small screwdriver, slide the screwdriver under the spring and carefully remove it from around
the seal. With the Door Boot Spring removed, unseat the Door Boot from the washer door opening (Fig. 6-3). As you remove the
Door Boot from the door opening note how the seal will be reseated on the door opening when replaced.
TECH NOTE: When reinstalling the Door Boot make sure that the Boot Tab is located at the11:00 O'clock position (Fig. 6-1).
Fig. 5-5
• With the Door Boot unseated from the door opening remove the Top Panel as described in Section 2. For easier access to the
Door Boot Clamp Bolt (Fig. 6-5) remove the Soap Dispenser Housing (Fig. 6-4) as described in Sections 3 and 8. Loosen the Door
Boot Clamp Bolt using an 8mm Nut Driver (Fig. 6-6), but do not loosen completely. With the Door Boot Clamp loose you can now
remove the Door Boot.
TECH TIP: When installing the new Door Boot leave the Boot Clamp loosely fit until you seat the Boot to the Outer Drum, then
tighten the Boot Clamp Bolt. Also make sure to water test the unit before replacing the Top Panel to ensure maximum
visibility for possible leaks.
REPAIR MANUAL
Fig. 6-1
Fig. 6-4
AW 120 / AW 122 / AW 125
AWD 120 / AWD 121 / AWD 129
Fig. 6-2
Fig. 6-5
Fig. 6-3
Fig. 6-6
Page: 7