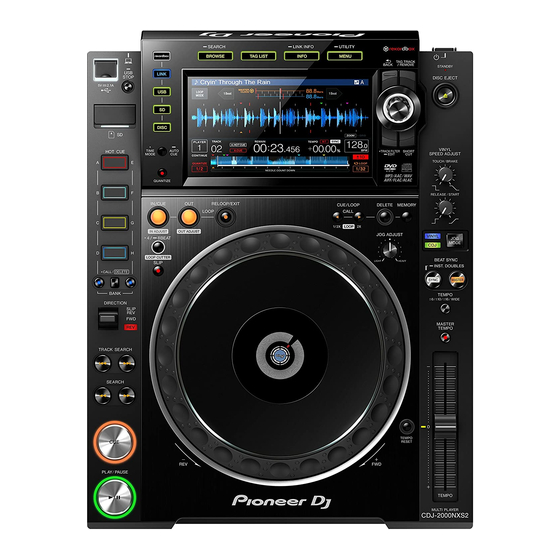
Pioneer CDJ-2000NXS2 사용 설명서 - 페이지 36
{카테고리_이름} Pioneer CDJ-2000NXS2에 대한 사용 설명서을 온라인으로 검색하거나 PDF를 다운로드하세요. Pioneer CDJ-2000NXS2 43 페이지. Multiplayer
Pioneer CDJ-2000NXS2에 대해서도 마찬가지입니다: 사용 설명서 (17 페이지), 빠른 시작 매뉴얼 (4 페이지), 연결 매뉴얼 (7 페이지)

Setting the playing history list name
The name of the playing history list stored on storage devices (SD, USB)
can be preset.
1 Display the [UTILITY] screen.
= Displaying the [UTILITY] screen (p. 34 )
2 Use the rotary selector to select and enter [HISTORY
NAME].
3 Input the characters using the keyboard shown on
the touch display.
4 Press the rotary selector to enter.
The name is changed to the name you have input.
! When the name of the playing history list is changed, the number
after the playing history list name returns to 001. This number is
incremented each time a playing history list is created.
! The maximum number of characters that can be set for the
[HISTORY] name is 32, including both letters, numbers and symbols.
Changing the language
Select the language to be used for displaying track names and mes-
sages on the screen.
! When the language is changed, the messages on the main unit
display are displayed in the selected language.
! When displaying track names, etc., to display characters written in
local codes other than Unicode, change the [LANGUAGE] setting.
1 Display the [UTILITY] screen.
= Displaying the [UTILITY] screen (p. 34 )
2 Use the rotary selector to select and enter
[LANGUAGE].
3 Use the rotary selector to select and enter the
language.
The language of the on-screen display is changed.
Correct the alignment of touch display
1 Display the [UTILITY] screen.
= Displaying the [UTILITY] screen (p. 34 )
2 Use the rotary selector to select and enter [TOUCH
DISPLAY CALIBRATION].
3 Touch [+] displayed on the screen, in order.
Touch 16 places in all.
! If [+] does not move when you release it, touch it a little longer and
then release it.
4 Press the rotary selector to enter.
The changed settings are stored.
! When setting the calibration, do not use a pointed object like a
ball-pen.
36
En
Duplicating the settings onto DJ
players connected by PRO DJ LINK
The [UTILITY] settings and other settings can be duplicated onto DJ play-
ers connected by PRO DJ LINK.
! The duplicated settings are as shown below.
— [UTILITY] settings
PLAY MODE, EJECT/LOAD LOCK, QUANTIZE BEAT VALUE,
HOT CUE AUTO LOAD, HOT CUE COLOR, AUTO CUE LEVEL,
SLIP FLASHING, ON AIR DISPLAY, JOG BRIGHTNESS, JOG
INDICATOR, DISC SLOT ILLUMINATION, LANGUAGE, LCD
BRIGHTNESS
— Other settings
TIME MODE (time display format on the main unit display), AUTO
CUE, JOG MODE, TEMPO RANGE, MASTER TEMPO, QUANTIZE,
SYNC, PHASE METER
1 Select [DUPLICATION] and enter.
2 Stop playback on the DJ player(s) on which you want
to reflect the settings.
3 Use the rotary selector to select and enter [PLAYER X]
or [ALL].
[PLAYER1]–[PLAYER4]: The settings are duplicated on the specified DJ
player. Currently playing DJ players cannot be selected.
[ALL]: The settings are duplicated on all the DJ players connected by
PRO DJ LINK. The settings cannot be duplicated on currently playing DJ
players.
[DUPLICATED] is displayed on the specified player's display and this
unit's [UTILITY] settings and other settings are duplicated on the speci-
fied player.
[DEFAULT]: Restores this unit's settings to the settings set upon
purchase.
