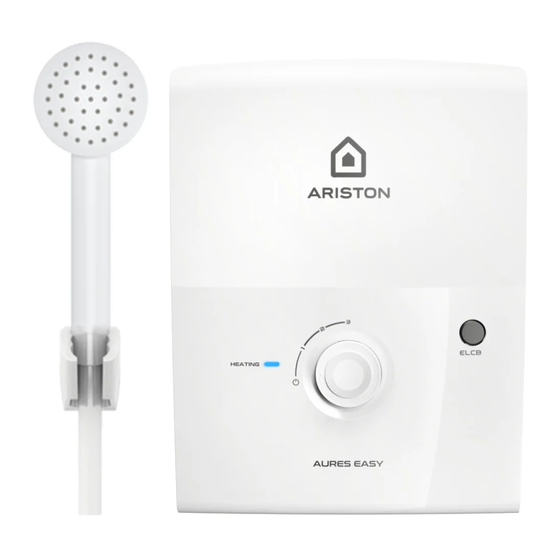
Ariston AURES EASY 3.5 조립 및 작동 지침 매뉴얼 - 페이지 5
{카테고리_이름} Ariston AURES EASY 3.5에 대한 조립 및 작동 지침 매뉴얼을 온라인으로 검색하거나 PDF를 다운로드하세요. Ariston AURES EASY 3.5 28 페이지. Instantaneous electric water heater

Install the appliance
1. Select a suitable position in the bathroom.
2. Remove the screw A-(fig. 3) at the bottom of the unit and lift up the front.
3. Mark screw points of the heater base on the wall. The heater position should be 1.5 m from the
bathroom floor.
4. Mark the screws points of the slider rail set beside the heater. It is recommended the top of the
portion is in same level with the top of the heater.
5. Use 6mm diameter drill and make the wall plug holes for heater and shower accessory to 35mm depth.
6. Insert the wall plugs and mount the heater firmly in position with the screws provided.
7. To mount shower accessory, remove the terminal cover from the mounting terminal and screw
the mounting to position. Close the cover. Insert the shower holder into the slider rail. Mount the
slider rail to the mounting terminal and screw the second mounting to position. Close the cover.
Water connection
THE WATER INLET AND OUTLET MUST BE INSTALLED CORRECTLY. DURING WATER CONNECTION
AND DISCONNECTION, INLET PIPE MUST BE ALWAYS KEPT BLOCKED IN THE CORRECT POSITION
WITH PROPER TOOL TO AVOID UNDESIRED ROTATION; OTHERWISE THE HEATER CAN NOT FUNC-
TION. USE ONLY THREAD OR SEALING TAPE.
1. Connect the product water supply valve to the water inlet with rubber washer. Use correct tools
to tighten and be careful not to break the plastic nut.
2. Connect the incoming water piping end to the product water supply valve (1/2'' BSP).
3. Connect the soft hose and shower head to the outlet of the heater; be sure to put in the rubber
washer.
4. Hook the shower head to the shower hanger and adjust to your ideal position.
IMPORTANT: THE 'WATER OUTLET' CAN ONLY BE FITTED TO THE SOFT HOSE AND SHOWER HAND
SET PROVIDED. NO CONTROL VALVE OR FITTING CAN BE MOUNTED TO THE WATER OUTLET.
Testing connection
In the condition of without power supply, turn on the water mains to drain out all plumbing dirt and
to fill up the heater tank. Check for any water leakage.
IMPORTANT: THIS STEP WILL PREVENT DAMAGE TO THE HEATING ELEMENT.
Electrical connection (warning)
- This appliance must be EARTHED. Improper grounding could cause electrical shock. Addition-
al electric switch should be far away from the water heater (out of reach of shower spray).
- Remember to switch off at mains before carrying out any electrical work.
1. Use double coated flexible cable having nominal cross-sectional area which could be seen in
table 1.
2. Lead the power cable from the circuit breaker to "ON/OFF" double bipolar switch (which having
a contact opening at least 3mm in all poles) outside the bathroom, then lead a cable connected
to terminal block inside the unit (Fig.4).
3. Make a hole in the rubber gasket (Fig. 4B) just enough to make cable pass through and put the
gasket in the correct position;
5
EN
