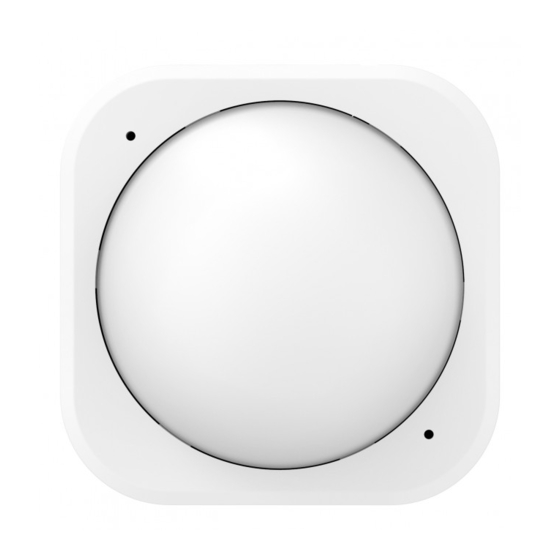
Aeotec MULTISENSOR 6 사용자 설명서 - 페이지 3
{카테고리_이름} Aeotec MULTISENSOR 6에 대한 사용자 설명서을 온라인으로 검색하거나 PDF를 다운로드하세요. Aeotec MULTISENSOR 6 8 페이지. Z-wave water and flood sensor
Aeotec MULTISENSOR 6에 대해서도 마찬가지입니다: 사용자 설명서 (13 페이지), 매뉴얼 (3 페이지), 매뉴얼 (10 페이지), 사용자 설명서 (13 페이지)

11/21/2017
With your sensor powered on you'll need to add it to your Z-Wave network.
1. Put your Z-Wave controller / gateway into "add new product" mode. This is sometimes referred to as pairing or
inclusion mode within some software. If you are unsure of how to do this, please refer to your gateway's user
manual.
2. Water Sensor 6 can be connected to your Z-Wave network using standard or advanced security. Standard security
is recommended - advanced security will decrease battery life and response time and is also typically not needed for
devices that do not control access or the electronics in your home.
To connect Water Sensor 6 to your gateway using standard security: Press its Action Button once; its LED flash will
flash green which will indicate it has entered pairing mode.
To connect Water Sensor 6 to your gateway using advanced security: Tap its Action Button twice within 1 second; its
LED will flash blue to indicate that it has entered pairing mode.
3. If your Water Sensor was added successfully, its RGB LED will change colour for 2 seconds: solid green with basic
security or solid blue for advanced security. After 2 seconds have passed, Water Sensor 6 will enter Wakeup Mode
during which its LED will flash orange to indicate that it is awake and ready to receive commands and configurations
from your Z-Wave gateway. You may tap its Action Button to put it back to sleep.
Should Water Sensor 6 fail to connect to your gateway its LED will be red for 2 seconds after which it'll return to displaying
a gradient of colours. If pairing fails please follow the previous steps again ensuring that your Z-Wave gateway is in the
correct mode.
Your Water Sensor 6 will now work as part of your smart home; you can configure it, use it to control events and triggers, or
view its status from your Z-Wave software or smartphone application.
Optimally placing Water Sensor 6.
The final installation steps of Water Sensor 6 are very simple, all you need to do is choose the area that you want Water
Sensor 6 to monitor leaks or floods in.
Water Sensor 6 is optimally placed on a flat surface where floods, leaks and drips can occur; these can include your
washroom or kitchen. When placing it, ensure that its detection probes touch the surface being monitored; when water
touches any 2 of the 4 probes on Water Sensor 6 an alert will be sent to your Z-Wave network. Below are some of the
possible situations that can trigger Water Sensor 6.
1. Water is detected by sensing point 2 and 4.
2. Water is detected by sensing point 1 and 3.
https://aeotec.freshdesk.com/support/solutions/articles/6000171886-water-sensor-6-user-guide-
Water Sensor 6 user guide. : Aeotec by Aeon Labs
3/8
