Ariston GENUS 24 FF 설치 및 서비스 지침 - 페이지 20
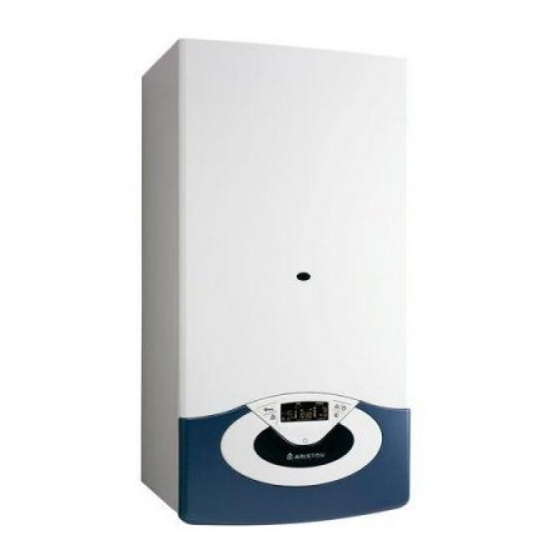
{카테고리_이름} Ariston GENUS 24 FF에 대한 설치 및 서비스 지침을 온라인으로 검색하거나 PDF를 다운로드하세요. Ariston GENUS 24 FF 44 페이지. Wall-hung gas boiler
Ariston GENUS 24 FF에 대해서도 마찬가지입니다: 사용자 설명서 (21 페이지)
messa in funzione
Alimentazione Gas
Procedere nel modo seguente:
- verifi care che il tipo di gas erogato corrisponda a quello indicato
sulla targhetta della caldaia
- aprire porte e fi nestre
- evitare la presenza di scintille e fi amme libere
- verifi care la tenuta dell'impianto del combustibile con rubinetto di
intercettazione posto in caldaia chiuso e successivamente aperto
con valvola del gas chiusa (disattivata), per 10 minuti il contatore
non deve indicare alcun passaggio di gas.
Prima accensione
1. Assicurarsi che:
-
il rubinetto gas sia chiuso;
-
il collegamento elettrico sia stato eff ettuato in modo corretto.
Assicurarsi in ogni caso che il fi lo di terra verde/giallo sia
collegato ad un effi ciente impianto di terra;
-
sollevare, con un cacciavite, il tappo della valvola sfogo aria
automatica.
2. Accendere la caldaia (premendo
il tasto ON/OFF) e selezionare la
modalità stand-by - non ci sono
richieste né dal sanitario né dal
riscaldamento;
3. Attivare il ciclo di disareazione
premendo il tasto E
SC
secondi.
La caldaia inizierà un ciclo di
disareazione di circa 7 minuti che
può essere interrotto, se necessario
premendo il tasto E
.
SC
Al termine verifi care che l'impianto
sia
completamente
e, in caso contrario, ripetere
l'operazione.
4. Spurgare l'aria dai radiatori.
5. Verifi care che l'indicazione della
pressione d'impianto sul display
sia suffi ciente (1-1,5 mbar), in caso
contrario provvedere al reintegro
attraverso
l'elettrovalvola
riempimento. Qualora la pressione
scendesse al di sotto del valore
di allerta il display segnalerà la
richiesta di reintegro.
Provvedere, se necessario, al reintegro premendo il tasto Filling. Il
display segnalerà "riempimento in corso"
6. Verifi care che il condotto di evacuazione dei prodotti della
combustione sia idoneo e libero da eventuali ostruzioni.
7. Verifi care che le eventuali necessarie prese di ventilazione del
locale siano aperte (installazioni di tipo B).
8. Aprire il rubinetto del gas e verifi care la tenuta degli attacchi
compresi quelli della caldaia verifi cando che il contatore non
segnali alcun passaggio di gas. Eliminare eventuali fughe.
9. Mettere in funzione la caldaia selezionando con il Tasto M
funzionamento in riscaldamento o produzione di acqua calda ad
uso sanitario.
20
bar
per 5
bar
Disarezione in corso
disareato
di
bar
Premi Puls Riempim
commissioning
Gas supply
Proceed in the following manner:
- make sure that the main gas supply uses the same type of gas as
indicated on the boiler data plate;
- Open all doors and windows;
- Make sure there are no sparks or naked fl ames in the room;
- Make sure that the system does not leak fuel using a cut-off valve
inside the boiler itself which should be closed and then opened
while the gas valve is disabled. The meter must not show any signs
of gas being used for 10 minutes.
First ignition
1. Make sure that:
- The gas valve is closed;
- The electrical connection has been properly carried out. Make
sure that, in any case, the green/yellow earthing wire is connected
to an effi cient earthing system;
- Use a screwdriver to lift the cap on the automatic air relief valve;
Summer
Estate
Air-purge function
Push Filling button
6. The exhaust duct for combustion products should be suitable
and free from any obstructions;
7. Any necessary ventilation inlets in the room should be open
(type B installation).
8. Open the gas valve and check the connection seals, including
the boiler connection seals, making sure that the meter does not
detect any passage of gas. Eliminate any leaks.
9. Start the boiler by selecting the heating or domestic hot water
operation using the M
il
ODE
2. Switch on the boiler (by pressing
the ON/OFF button) and use the
M
button to select the standby
ODE
mode, where no hot water or
heating requests are made.
3. Start the deaeration cycle by
pressing E
for 5 seconds
SC
The boiler will start a deaeration
cycle lasting about 7 minutes. If
you need to stop it press E
Make sure that the system
pressure shown on the display
unit is higher than 1.2 bar.
At the end, check that the system
is completely deaerated and, if
not, repeat the procedure.
4. Bleed the air from the radiators.
5. Make sure that the system
pressure shown on the display
unit is higher than 1.2 bar. If it
isn't, the symbol
up on the display unit and
insuffi cient pressure will be
signalled;
Press the Filling button to make
the addition. The display unit will
show "Filling in progress".
button.
ODE
.
SC
will light