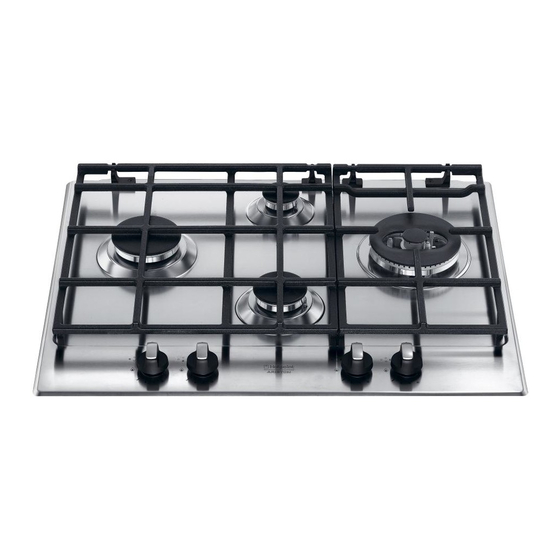
Ariston PK 750 RT GH AUS 사용 설명서 - 페이지 14
{카테고리_이름} Ariston PK 750 RT GH AUS에 대한 사용 설명서을 온라인으로 검색하거나 PDF를 다운로드하세요. Ariston PK 750 RT GH AUS 32 페이지.
Ariston PK 750 RT GH AUS에 대해서도 마찬가지입니다: 사용 설명서 (44 페이지)

detergents containing phosphorus. After cleaning, rinse
AUS
and dry any remaining drops of water.
! It is not necessary to remove the pan supports in order to
clean the hob surface. Thanks to the support system, simply
lift and hold the pan supports or rotate them until they rest
against a rear support.
Do not place the hot grids on top of the glass cover (if
applicable), otherwise the rubber plugs on the glass
may be damaged.
Gas tap maintenance
Over time, the taps may become jammed or difficult to turn.
If this happens, the tap must be replaced.
! This procedure must be performed by a qualified
technician authorised by the manufacturer.
Troubleshooting
It may happen that the appliance does not function properly
or at all. Before calling the service centre for assistance,
check if anything can be done. First, check to see that there
are no interruptions in the gas and electrical supplies, and,
in particular, that the gas valves for the mains are open.
The burner does not light or the flame is not even
around the burner.
Check whether:
• The gas holes on the burner are clogged.
• All the movable parts that make up the burner are
mounted correctly.
• There are draughts near the appliance.
The flame dies in models with a safety device.
Check to make sure that:
• You pressed the knob all the way in.
• You keep the knob pressed in long enough to activate
the safety device.
• The gas holes are not blocked in the area corresponding
to the safety device.
The burner does not remain lit when set to minimum.
Check to make sure that:
• The gas holes are not blocked.
• There are no draughts near the appliance.
• The minimum setting has been adjusted properly.
14
The cookware is unstable.
Check to make sure that:
• The bottom of the cookware is perfectly flat.
• The cookware is positioned correctly at the centre of the
burner.
• The pan support grids have been positioned correctly.
