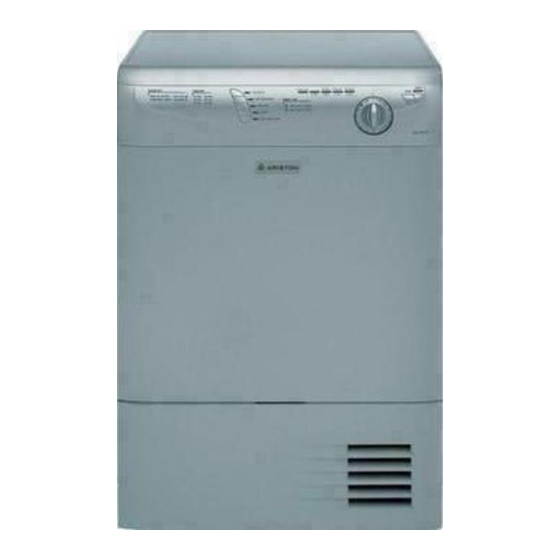
Ariston ASL75CXSNA 수리 매뉴얼 - 페이지 13
{카테고리_이름} Ariston ASL75CXSNA에 대한 수리 매뉴얼을 온라인으로 검색하거나 PDF를 다운로드하세요. Ariston ASL75CXSNA 18 페이지. Condensation dryer
Ariston ASL75CXSNA에 대해서도 마찬가지입니다: 데이터시트 (1 페이지)
12. MOTOR REPLACEMENT
TECH NOTE
REPAIR MANUAL
• To remove the Motor (Fig. 12-1), first remove the Right Side
Panel (see Section 10, page 8) and the Control Board (see
Section 11, Page 9, Fig 11-2 & 11-3).
TECH NOTE: Only the Control Board mounting screws need to be
removed so that the Control Board can be moved out of your way,
the wiring does not have to be removed and can remain
connected.
• Next, using a flat bladed screwdriver remove the Front Fan
Cover by prying it out from its two mounting tabs (Fig. 12-2).
The Fan Cover will then lift up and off.
Fig. 12-1
• Then using a Needle Nose Pliers remove the Fan Blade Clamp,
and then slide the Fan Blade off the Motor Shaft (Fig. 12-3).
Fig. 12-2
Fig. 12-3
TECH NOTE: When reinstalling the Fan Cover
make sure to insert the Fan Cover Lip (Fig. 12-4)
into the slot on the base (Fig.12-5) and then lock
the Fan Cover back into position.
ASL75CXS NA
Fig. 12-4
Fig. 12-5
Page: 10