Backyard Creations 259-5091 매뉴얼 - 페이지 5
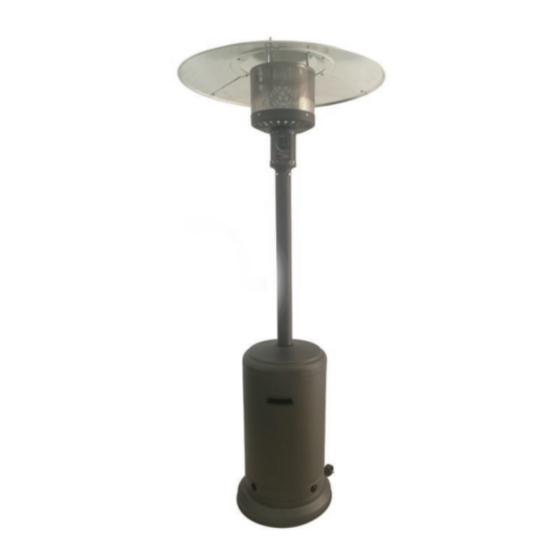
{카테고리_이름} Backyard Creations 259-5091에 대한 매뉴얼을 온라인으로 검색하거나 PDF를 다운로드하세요. Backyard Creations 259-5091 14 페이지. Outdoor patio heater
ASSEMBLY
PREPARATION
Before beginning assembly of this appliance, make sure all parts are present. Compare all parts with package contents list
and hardware as listed on page 4 of this manual. If any part is missing or damaged, do not attempt to assemble this
product. Contact customer service for replacement parts.
Estimated Assembly Time: 60 Minutes | DO NOT over tighten hardware!
Tools Required for Assembly (NOT included):
7/16" open-end wrench | Phillips head screwdriver with medium blade | Adjustable wrench
Leak Test Solution (see instructions on how to make solution.)
1
Attach Wheel Assembly to Base. Line up holes in Wheel
Assembly with corresponding holes in Base and insert 2 -
Medium Bolts through holes. Finger-tighten bolts. Make sure
Wheel Assembly is parallel to Base, then fully tighten the Bolts.
NOTE: Sand box is pre-assembled to base. For best stability,
fill the sand box with sand.
Hardware Used: 2 - Medium Bolts
2
Attach the Support Brackets to the Base. Attach the 3 -
Support Brackets loosely to the Base with 3 - Medium Bolts
inserted through the holes in the bottom of the Support
Brackets and into the Base.
Hardware Used: 3 - Medium Bolts
3
Attach the Post to the Support Brackets. Once you have
tightened the bolts holding the Support Brackets to the Base,
align the holes in the bottom of the Post with the holes on the
tops of the Support Brackets and insert 6 - Large Bolts through
the hole in the Post and through the hole in the Support Bracket.
Affix 6 - Small Flange Nuts to the bottom of the Large Bolts.
Hand-tighten initially then tighten with a wrench when all Bolts
have been inserted.
Hardware Used: 6 - Large Bolts
Contact us for assistance: [email protected]
6 - Small Flange Nuts
1
2
3
5