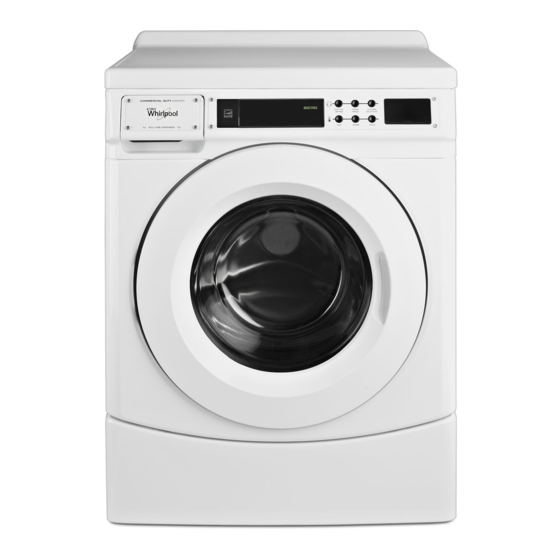
Whirlpool CED9150GW 설치 지침 매뉴얼 - 페이지 9
{카테고리_이름} Whirlpool CED9150GW에 대한 설치 지침 매뉴얼을 온라인으로 검색하거나 PDF를 다운로드하세요. Whirlpool CED9150GW 32 페이지. Commercial front-load washer

Level the Washer
Properly leveling your washer avoids excessive noise and
vibration.
1. Check the levelness of the washer by placing a level on the
top edge of the washer, first side to side, then front to back.
Jam nut
Jam nut
If the washer is against a wall, move the washer out slightly
before tipping back. If the washer is not level, first prop the
front with a wood block and adjust the feet as necessary; then
prop the back and adjust feet as necessary. Repeat this step
until washer is level.
2. Make sure all 4 feet are stable and resting on the floor.
Then check that the washer is perfectly level (use a level).
3. After the washer is level, use a 9/16" open-end wrench to turn
the nuts on the feet tightly against the washer cabinet.
Jam nut
Jam nut
IMPORTANT: All 4 feet must be tightened. If the nuts are
not tight against the washer cabinet, the washer may vibrate.
4. The washer should not move front to back, side to side,
or diagonally when pushed on its top edges.
5. Slide the washer to its final location.
6. Confirm the levelness of the washer.
Complete Installation
1. Check the electrical requirements. Be sure that you have the
correct electrical supply and the recommended grounding
method. See "Electrical Requirements."
2. Check that all parts are now installed. If there is an extra part,
go back through the steps to see which step was skipped.
3. Check that you have all of your tools.
4. Dispose of/recycle all packaging materials.
5. Check that the water faucets are on.
6. Check for leaks around faucets and inlet hoses.
7. Plug into a grounded 3 prong outlet.
8. To test and clean your washer, measure ½ of the detergent
manufacturer's recommended amount of High Efficiency (HE)
detergent for a medium-size load. Pour the detergent into
the detergent dispenser. Select any cycle and allow the
washer to complete one whole cycle.
9
